

Proper installation of the junction box can improve electrical safety and comply with electrical codes. For electrical contractors and facility managers, this article provides you with practical installation guidelines, from tool selection to detailed installation steps, to assist you in completing all operations safely.
What Is an Electrical Junction Box?
A junction box is a protective enclosure used to cover wires. You can choose a plastic or metal junction box with a cover, and keep the connectors inside the enclosure. Junction boxes are usually installed in accessible areas such as walls, ceilings, or attics to connect or branch out to different circuits of wires.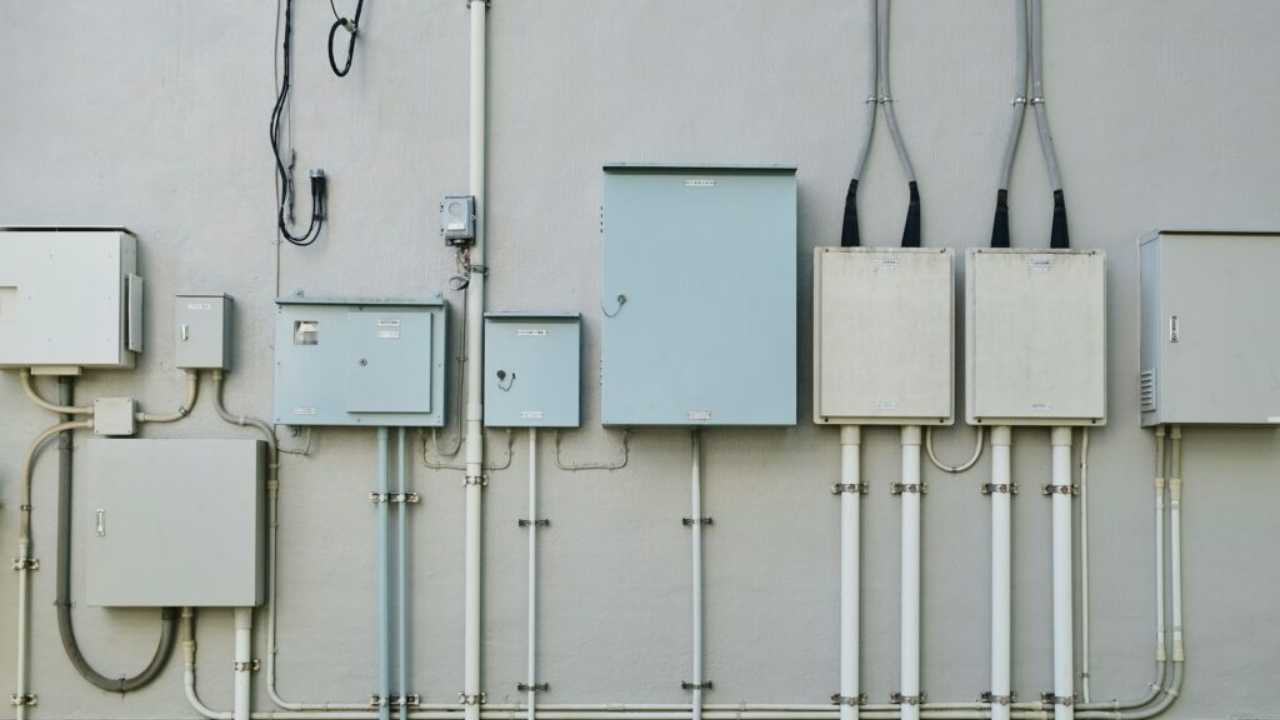
Preparation: Tools and Materials You’ll Need
Before installation, prepare the tools you need to help you develop a more efficient workflow and ensure installation security. The list is as follows:
| Tools | Screwdrivers(Flathead and Phillips), pliers, wire strippers, voltage tester, drill and bits, utility knife, measuring tape |
| Materials | Junction box, wire nuts(connectors), cable clamps, electrical cable(same-colored), mounting screw, cover plate |
Step-by-Step Guide: How to Install a Junction Box?
Prepare the Correct Junction Box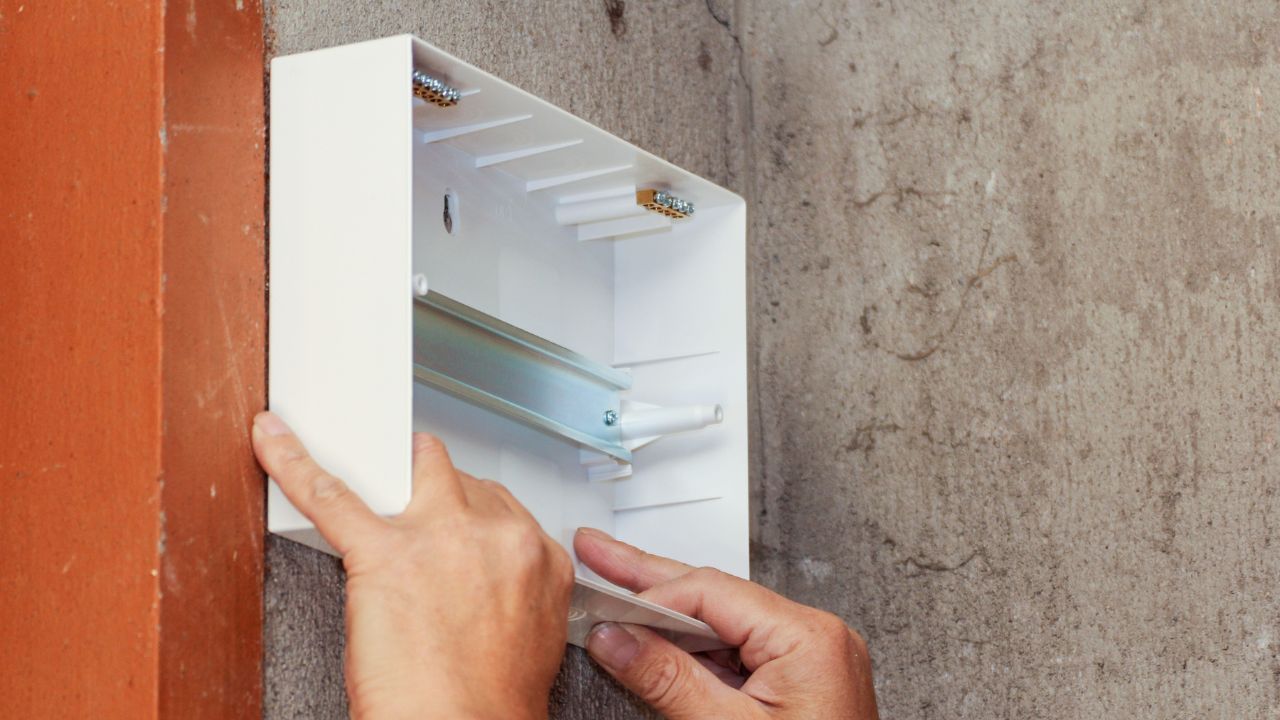
You need to consider whether your junction box is for indoor or outdoor use, and choose plastic or metal. For outdoor environments, you need to install a weatherproof or waterproof junction box. Additionally, the junction box selection needs to match your cable types. For instance, using NM cables, choosing a plastic j box; using BX cables, choosing a metal j box.
The junction box is larger to accommodate all your cables. The conductors’ fill capacity is closely related to their volume(cubic inches). Calculate the cables and equipment needed to fit the junction box to obtain the right size for you. The following is the NEC for conductors filling:
| Wire Gauge(AWG) | Volume per Conductor(Cubic Inches) |
| 18 | 1.5 cubic inches |
| 16 | 1.75 cubic inches |
| 14 | 2.0 cubic inches |
| 12 | 2.25 cubic inches |
| 10 | 2.5 cubic inches |
| 8 | 3.0 cubic inches |
| 6 | 5.0 cubic inches |
Position Your Junction Box
Before installation, you need to locate the circuit in the panel and switch off the correct circuit. If you are unable to locate it precisely, you can turn off the main circuit breaker. Use a voltage tester to confirm the circuit is completely powered off. Then, you need to ensure that the location where the junction box is installed is easily accessible.
The junction box should not be buried behind drywall or other materials. You need to guarantee there are no obstructions around and reserve sufficient working space for wiring. This is also beneficial for future maintenance and helps reduce safety risks.
The ceiling junction box you need to install must be equipped with a removable cover plate. Junction box installation should avoid wet areas unless you use a weatherproof box. For wall installation, you also need to check the studs for secure mounting.
Most importantly, check that the j box has sufficient space to contain all wires and devices before installation.
Mount the Box
If you use a metal junction box, use a screwdriver or pliers to pop out the metal disc(knockouts) of the desired wiring hole. Review your wiring installation plan and mark your installation location. Separate the circuit wires from the existing splices to make room for the new junction box.
If mounted on drywall, you will need to mark the box outline and cut it. The drywall installation should use anchorage for fixation. Or fix the box to the wall studs or other frame structures by using screws and brackets. The front edge of the junction box needs to be flush with the wall.
Install Cable Clamps or Conduit Fitting
Insert cable clamps or conduit connectors into the box and tighten them firmly to prevent the cables from moving. Usually, cable clamps are included in plastic junction boxes. You may need to equip metal junction boxes with locknut-style clamps. Then, thread the threaded end through the hole and secure it inside the box with the wire nuts. Be careful not to over-tighten and damage the insulation layer.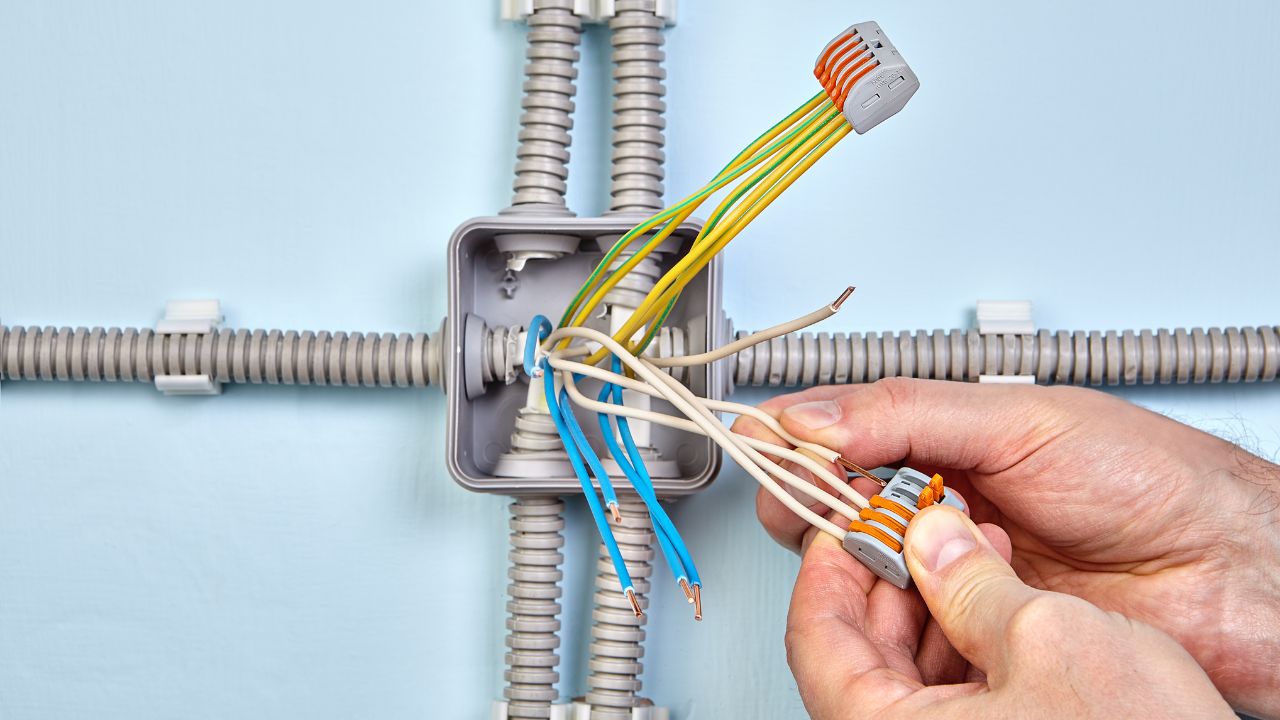
Strip and Secure Your Electrical Cables
Install cable clamps or conduit connectors and tighten them firmly to prevent the cables from moving. Usually, cable clamps are included in plastic junction boxes. You may need to equip metal junction boxes with locknut-style clamps. Then, thread the threaded end through the hole and secure it inside the box with the wire nuts. Be careful not to over-tighten and damage the insulation layer.
Use a wire stripper to remove about 3/4 inch(18-20 mm) of the cable insulation. During the stripping process, be careful not to damage the copper conductor. Before connecting, you should also check that each conductor is intact and straighten the bent wire ends.
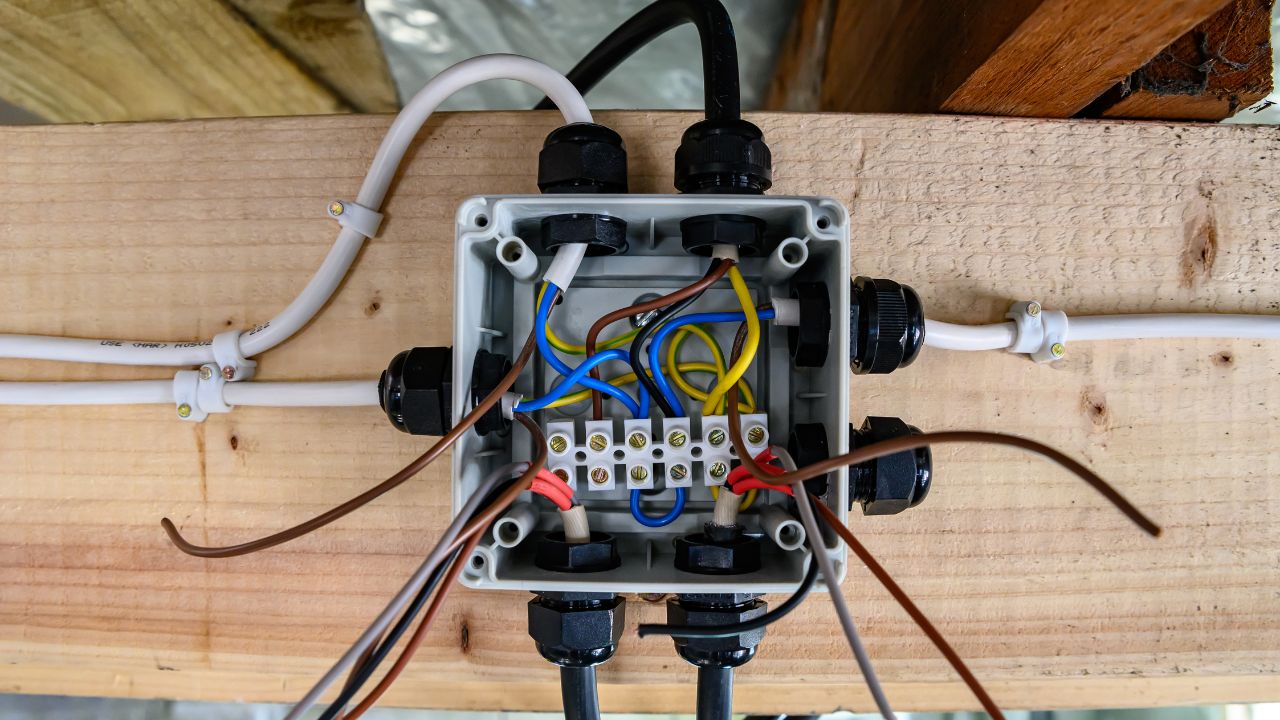
Connect the Wires
You need to connect the grounding wire, which is usually a green insulated wire. If you use a metal box, you’ll also need to add a 6-inch pigtail to the ground wire connection. Then attach it to the box grounding screw.
Next, you need to connect the black wire(hot wire), the white wire(neutral wire), and the red wire(hot wire) together separately by using lineman’s pliers. Each pair of wires requires a wire connector(wire nut). After completing the connection, you can gently pull the connected wires to guarantee a secure connection.
Organize and Fold Wires into the Box
Carefully fold the wires and put them into the box, avoiding excessive bending or force on the cables. And then, place the grounding wire at the back. Finally, you should also carefully check that there are no exposed copper wires on the outside of the connector. Most importantly, the box should not be filled too full and should not exceed its rated capacity.
Install the Cover
Align the cover plate with the box and tighten it with screws. You also need to make sure the cover is flat and tight. After installation, you can turn on the circuit breaker and use a voltage tester to test the circuit. Check if the connected equipment is functioning properly. If there is abnormal heating, noise, or odor, you need to power off immediately and recheck the connections. If it operates normally, your junction box has been installed successfully.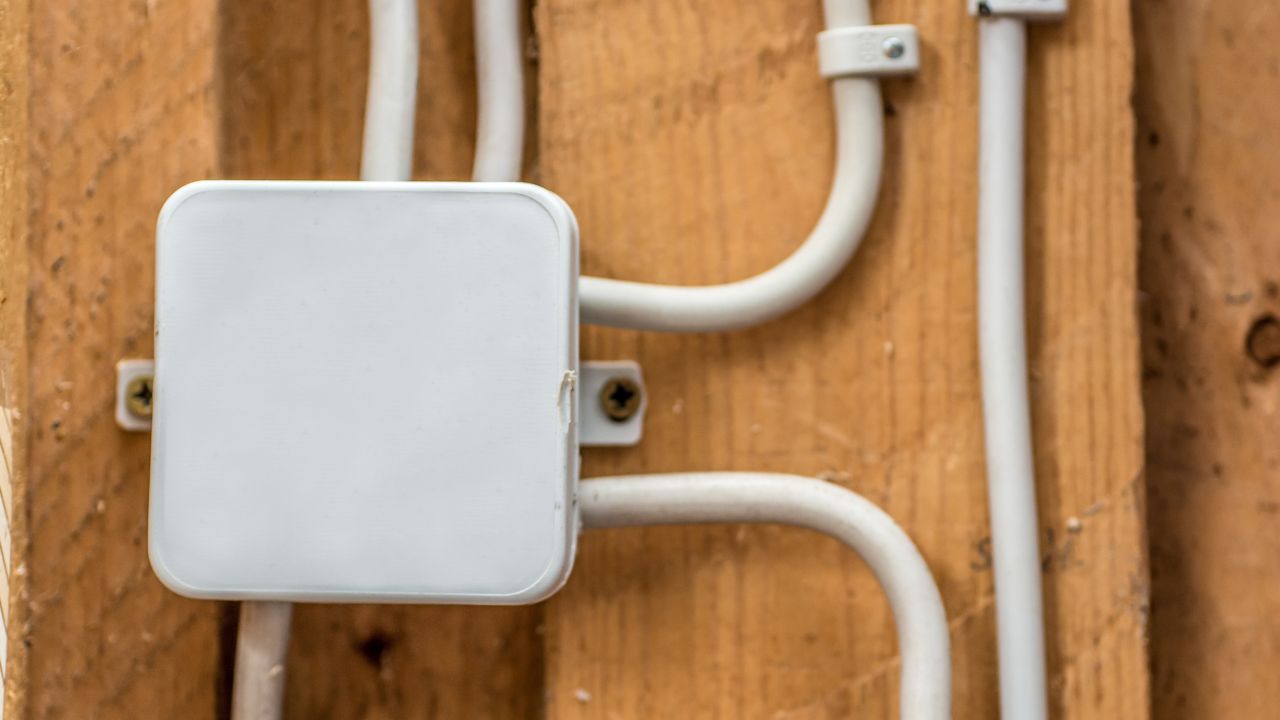
Common Mistakes To Avoid
Overfilling the Junction Box
Using a small junction box will lead to heat accumulation. And the mutual friction between wires may damage the insulation layer, which undoubtedly increases the fire risks. Furthermore, this also violates the box-filling restrictions stipulated in NEC.
Leaving Splices Outside the Box
Make the wire connections outside the junction box. Exposed connection points may cause fires and electric shock accidents. All contacts must be fully enclosed in an approved junction box and equipped with a cover.
Mixing Incompatible Wire Gauges
This may cause overheating due to uneven load distribution. Therefore, it is necessary to make sure that the wire size meets the circuit requirements and the circuit breaker’s rated value.
Using the Wrong Type of Junction Box
For example, indoor-type junction boxes were used in outdoor environments, or plastic junction boxes were used where metal junction boxes should be used. All of these may cause condensation in the box, corrode the internal components, and lead to mechanical failure.
FAQ
Can I Install the Junction Box by Myself?
If you have basic circuit knowledge, the installation circuit is simple; you can install the junction box yourself. If you are installing the green wire or high-voltage circuits, you can seek a professional electrician’s service.
How Do You Ground a Metal Junction Box?
Insert the green grounding screw into the threaded hole and wrap the grounding wire clockwise around the screw. Finally, tighten the screw. Inside the box, connecting the incoming/outgoing grounding wires is necessary. Connect the grounding pigtail to the box. And then twist them together with a connector for fixation.
Can a Junction Box be Installed Outdoors?
Yes, but you need to choose the correct junction box type and install it properly. You can choose a weatherproof junction box marked with outdoor grade, such as NEMA 4 or NEMA 4X. Outdoor junction boxes must have a gasket cover and use appropriate sealing accessories. Outdoor junction boxes need to be installed on walls or pillars, avoiding direct contact with the ground to prevent water accumulation.
Final Thought
KDM is a manufacturer dedicated to providing you with high-quality junction boxes. Our junction boxes provide various IP and NEMA ratings for your choice. If you have customization requirements, we also provide one-stop customization services. Please contact us to get your customized solution.