

Ya sea usted un contratista eléctrico o un miembro de un equipo de construcción, saber cómo instalar correctamente y de forma segura las cajas de distribución es fundamental para garantizar el funcionamiento seguro de todo el sistema. Este artículo detalla el proceso de instalación, lo que le ayudará a comprender mejor las cajas de distribución.
Ahora, entremos de lleno en el tema.
¿Qué es una caja de distribución?
En primer lugar, es necesario comprender la definición de una caja de distribución y tener claro qué tipo de caja de distribución se desea instalar. Esto es fundamental para una instalación correcta. Estrictamente hablando, el término “caja de distribución” puede referirse a dos categorías: cajas de distribución eléctrica y cajas de distribución para fosas sépticas. Este artículo se centra principalmente en la primera.
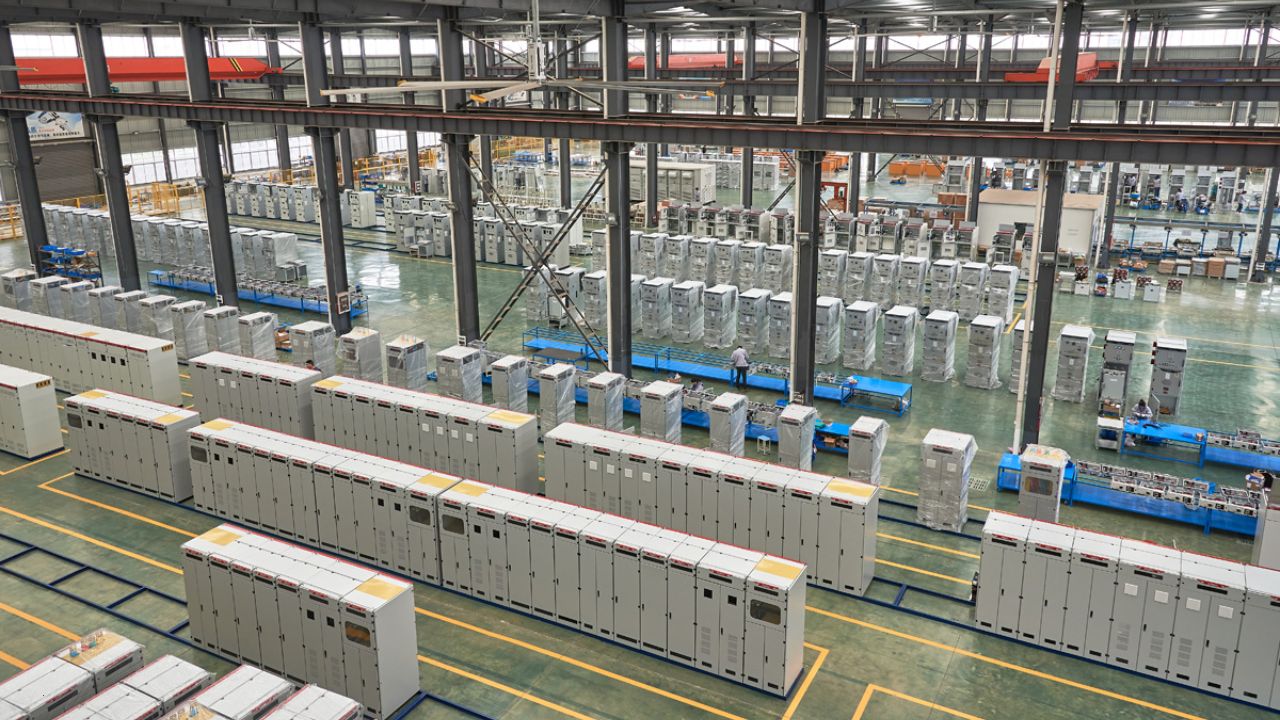
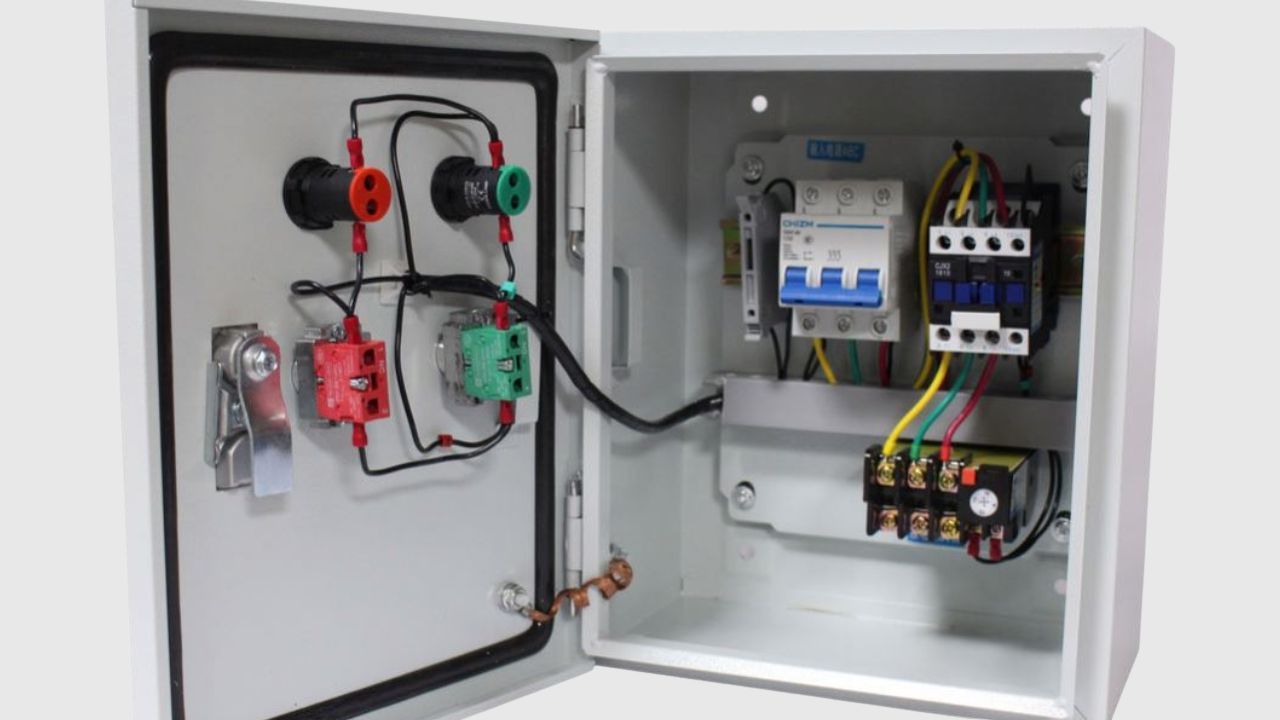
Una caja de distribución eléctrica, también conocida como cuadro de distribución o unidad de consumo, es el componente central de un sistema eléctrico. Existen tres categorías: cajas de distribución eléctrica residenciales, comerciales e industriales, todas las cuales desempeñan funciones importantes en sus respectivos ámbitos eléctricos.
Los cuadros de distribución contienen numerosos dispositivos de protección, como disyuntores, fusibles e interruptores seccionadores, para distribuir y regular la energía eléctrica desde la red principal a múltiples circuitos en otros edificios, y para prevenir daños y riesgos de incendio. Suelen instalarse en cuartos eléctricos, sótanos o pasillos. Algunos modelos avanzados también pueden incluir interruptores diferenciales (RCD) o interruptores diferenciales con protección contra sobrecorriente (RCBO).
Elija la mejor posición para la instalación.
Antes de comenzar la instalación, es fundamental encontrar un lugar adecuado para la caja de distribución, ya que esto influye considerablemente en la seguridad y la facilidad de mantenimiento. Veamos qué factores se deben tener en cuenta al elegir el lugar de instalación.
- Accesibilidad
La accesibilidad es uno de los factores más importantes que debe tener en cuenta al elegir el lugar de instalación. La ubicación debe estar cerca de la fuente de alimentación principal.
para conectar. Además, debe ser fácil de encontrar y de fácil acceso para electricistas y personal de mantenimiento, lo que ayuda a prevenir fallas eléctricas y a mantenerlas.
- Ambiente
La ubicación ideal para instalar cajas de distribución eléctrica debe estar alejada del agua, sustancias inflamables y explosivas, y sustancias corrosivas. Si se deben colocar en exteriores, especialmente en zonas de alta humedad, es fundamental garantizar su impermeabilidad. De ser necesario, se recomienda equiparlas con una cubierta para la lluvia, un ventilador o un deshumidificador.
- Capacidad
Recuerde dejar suficiente espacio alrededor de la caja para una mejor ventilación y mantenimiento. La capacidad debe ser suficiente para alojar el cableado y los disyuntores, y para estar preparada para futuras ampliaciones o actualizaciones del sistema.
- Altura
La altura óptima para instalar cajas de distribución residenciales es de 1,5 metros sobre el suelo, mientras que para las cajas de distribución industriales, la altura depende del espacio disponible y de los equipos que haya alrededor.
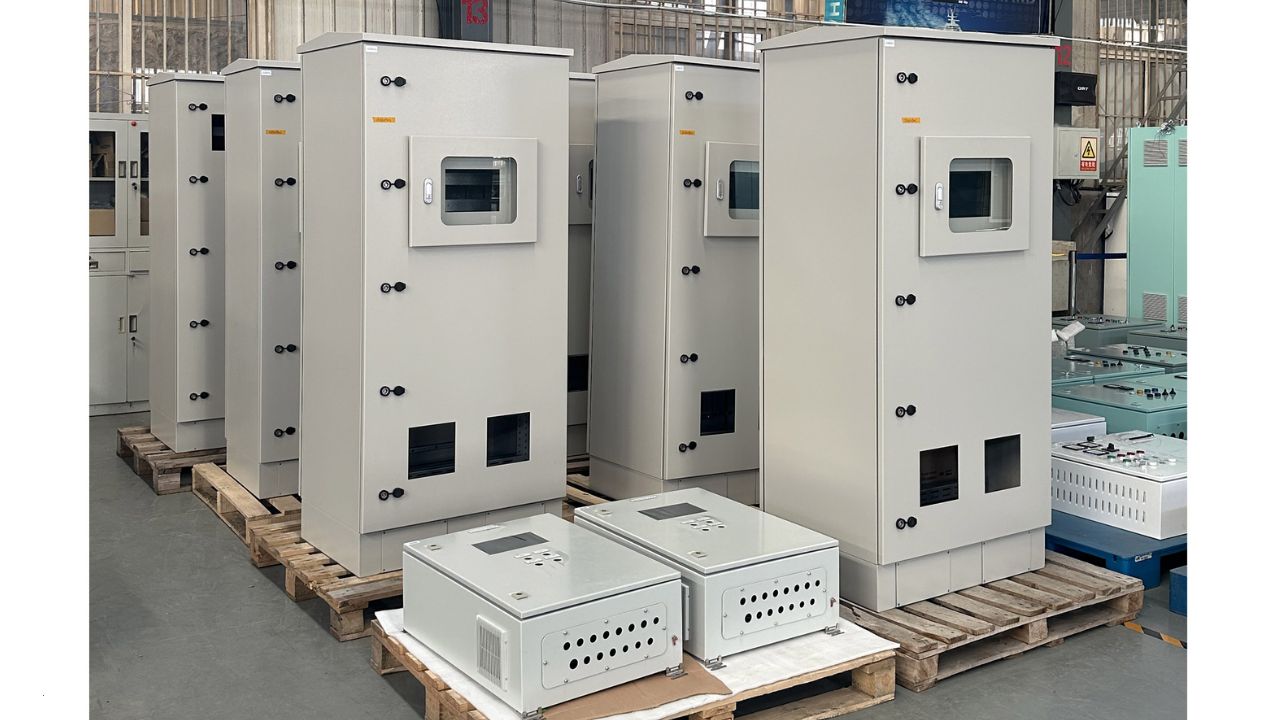
Elija uno adecuado Caja eléctrica para su caja de distribución eléctrica
Al preparar las herramientas y los materiales necesarios para la instalación, un armario eléctrico es indispensable, por lo que elegir un armario eléctrico adecuado es fundamental antes de la instalación formal.
- Clasificaciones IP y NEMA
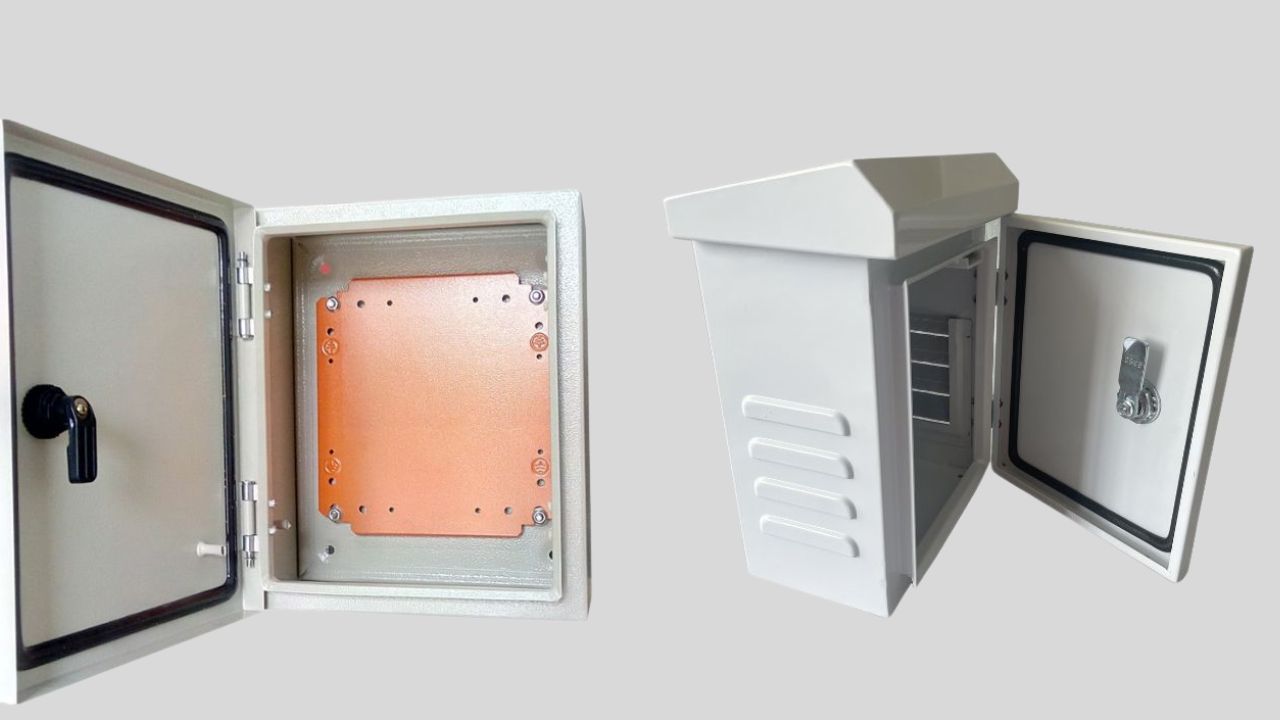
Por lo general, las cajas eléctricas se utilizan para proteger los componentes electrónicos internos de las cajas de distribución del agua, el polvo y los daños. Al elegir cajas eléctricas, es necesario considerar sus clasificaciones IP y NEMA, que representan su nivel de protección. IP es un estándar global, cuyo primer dígito representa la protección contra sólidos y el segundo dígito la protección contra líquidos. Las clasificaciones NEMA comunes incluyen: NEMA1 (para protección básica en interiores) y NEMA 4 (para resistencia a la corrosión).
Si su caja de distribución está instalada al aire libre y expuesta a la lluvia y la luz solar, debe seleccionar una caja eléctrica con un nivel de protección más alto, como los modelos con IP66 o clasificaciones NEMA 4.
- Materiales
Las cajas eléctricas están hechas de diversos materiales, y todas ellas tienen sus características únicas. Por lo general, Acero Es resistente y asequible, pero con menor resistencia a la corrosión; Acero inoxidable tiene una resistencia a la corrosión muy alta; Plástico (policarbonato/ABS) Es ligero, económico, no conductor y, a menudo, resistente a los rayos UV, por lo que es apto para uso en exteriores; Fibra de vidrio (PRFV) Es resistente y cuenta con un buen aislamiento, lo que le permite soportar entornos adversos.
- Tamaño y compatibilidad
El tamaño del armario eléctrico debe ser suficiente para satisfacer las necesidades actuales y futuras del equipo, y debe garantizar una buena circulación de aire para evitar el sobrecalentamiento. Si es necesario, se puede añadir refrigeración.
Para más información, puedes consultar nuestra página de productos. Tenemos muchas opciones para que elijas.
El proceso de instalación de una caja de distribución
Aquí viene la parte más importante: el proceso de instalación de una caja de distribución. Le recomendamos encarecidamente que contrate a un electricista profesional. La instalación de cajas de distribución requiere conocimientos eléctricos y habilidades operativas profesionales. Es muy peligroso que un aficionado lo haga, ya que cualquier error puede provocar accidentes eléctricos.
tales como cortocircuitos, o incluso incendios y descargas eléctricas.
Ahora, vamos a presentarlo paso a paso.
Preparación de herramientas y materiales
En primer lugar, prepare adecuadamente todas las herramientas y materiales que se vayan a utilizar.
- Las herramientas necesarias incluyen destornillador, pelacables, taladro eléctrico, multímetro y comprobador de resistencia de aislamiento.
- Los materiales necesarios incluyen una caja eléctrica, pernos de expansión, soportes de fijación, tornillos, bloques de terminales, cables homologados, bridas para cables, cinta aislante, etc. Inspeccione todos estos elementos y asegúrese de que estén en buen estado.
- Tampoco se puede ignorar el equipo de protección personal necesario. Este incluye guantes aislantes, guantes resistentes a cortes (que se pueden usar debajo de los guantes aislantes), gafas de seguridad, ropa ignífuga, calzado antideslizante, etc.
Arregla la caja
- Marcar y perforarConfirme el lugar de instalación (el método se describe más arriba) y márquelo en la pared o superficie de instalación con un rotulador. A continuación, taladre agujeros del tamaño adecuado con un taladro eléctrico e inserte los tacos de expansión.
- Instalación de la caja de distribuciónColoque la caja de distribución sobre la superficie de instalación, alinee la posición de los pernos de expansión y apriete los tornillos. Este paso debe revisarse cuidadosamente para asegurar que la caja de distribución quede instalada de forma estable, sin inclinación ni holgura.
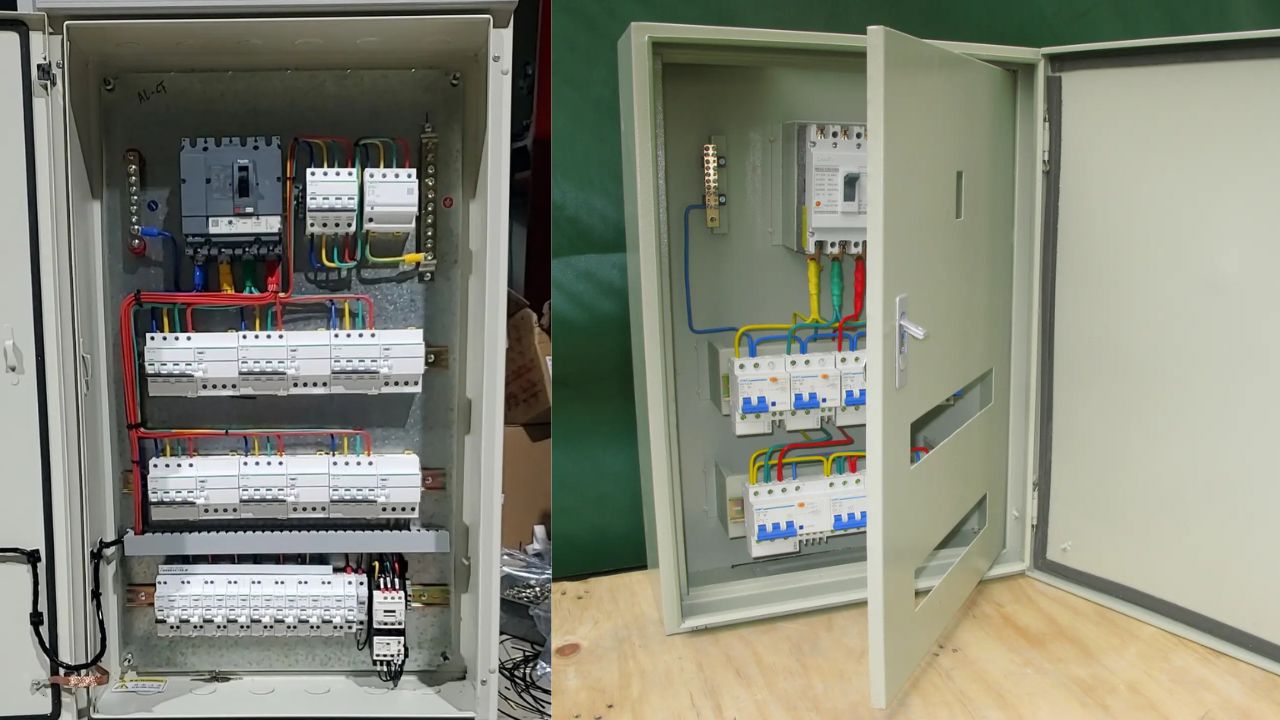
Conexiones de cableado
- Preparación del alambre: Corta la capa aislante del cable, dejando una longitud adecuada del conductor expuesto.
- Cortacircuitos: Instale interruptores automáticos independientes según sus necesidades de consumo eléctrico.
- TerminaciónEn este paso, debe conectar cada conductor a su terminal correspondiente: línea con línea, neutro con neutro y tierra con tierra. Siga el código de colores. Conecte los cables de entrada y salida a los terminales correspondientes de la caja de distribución. Luego, presione el cable contra el terminal con un pelacables o apriételo con tornillos. ¡Este paso es crucial y no admite errores!
- Etiqueta del circuitoUna vez completada la conexión del circuito, es necesario marcar cada circuito correctamente, lo cual resulta útil para el mantenimiento y la resolución de problemas en el futuro.
- Esquema de cableadoOrganice y oriente todos los cables de forma ordenada dentro de la caja y fíjelos con bridas. Deje espacio para la disipación del calor. Tenga cuidado de que los cables no se enreden y evite tocar los bordes afilados.
Controles de seguridad
Ahora que la instalación ha finalizado, puede volver a conectar la fuente de alimentación para realizar las siguientes pruebas y comprobaciones:
- Prueba de resistencia de aislamientoUtilice un comprobador de resistencia de aislamiento homologado para medir la resistencia entre el cableado y la caja y verificar que la lectura cumple o supera el valor requerido.
- Prueba de encendido/apagado del circuitot: Compruebe con un multímetro si hay cables rotos o cortocircuitos en el estado de encendido/apagado de cada circuito.
- Verificación de componentesPor último, verifique la correcta instalación y el estado operativo de todos los componentes internos (por ejemplo, disyuntores, fusibles). Además, confirme que sus valores nominales de corriente y tensión cumplen con los requisitos de diseño del circuito.
Si detecta alguna anomalía durante la instalación o la comprobación, desconecte inmediatamente el suministro eléctrico y póngase en contacto con personal de mantenimiento especializado. Si no es un profesional, nunca desmonte ni repare la caja usted mismo.
Mantenimiento e inspección después de la instalación
Una vez finalizado todo el proceso de instalación, puede descansar, pero no olvide realizar el mantenimiento y las inspecciones de sus cajas de distribución.
- Inspección diaria
Puede realizar una inspección breve de la caja de distribución de la siguiente manera: Verifique que la carcasa no presente daños físicos, corrosión ni signos de entrada de agua. Observe los indicadores de estado de los componentes internos (por ejemplo, disyuntores, interruptores diferenciales). Esté atento a cualquier ruido anormal (por ejemplo, zumbido) u olor inusual (por ejemplo, olor a quemado).
- Mantenimiento programado
- Limpie el interior y el exterior de la caja de distribución para eliminar el polvo, los residuos y otros contaminantes que puedan afectar la disipación del calor y el rendimiento del aislamiento.
- Compruebe que los terminales de conexión estén bien sujetos y vuelva a apretar los tornillos que estén flojos.
- Inspeccione el estado de desgaste de los cables y reemplace los dañados a tiempo.
- Compruebe el funcionamiento de los componentes de protección, como los disyuntores y los fusibles, para asegurarse de que pueden responder adecuadamente en caso de avería.
Normas de seguridad comunes
Al instalar cajas de distribución, es necesario cumplir con la normativa vigente. La fabricación e instalación de cajas de distribución se rigen por normas de seguridad reconocidas internacionalmente y a nivel regional. Entre las principales referencias se incluyen las normas de la Comisión Electrotécnica Internacional (IEC) para aparamenta de baja tensión, el Código Eléctrico Nacional de EE. UU. (NEC) y la norma china GB 7252.
Consejos para instalar cajas de distribución que debes conocer
Hay aspectos de la instalación que quizás pases por alto, pero que son muy importantes. Aprendamos sobre ellos.
- Mantener el estado de apagadoDebe comprobar el comprobador eléctrico al principio, asegurándose de que todo el lugar de instalación esté sin alimentación eléctrica.
- Posible problemaLos cortocircuitos, los malos contactos o los arcos eléctricos pueden deberse a diversos problemas que se pueden pasar por alto durante la instalación, como la conexión invertida del cable de fase y el neutro, el aflojamiento de las conexiones de los terminales o la excesiva exposición de los conductores, entre otros. Por lo tanto, cuando se presenten estos problemas, conviene revisar estas partes una por una (recuerde mantener la alimentación desconectada).
- Riesgo de componentes incompatibles: El uso de disyuntores o fusibles con parámetros nominales incorrectos compromete la protección, lo que puede provocar fallos en el aislamiento de averías o disparos intempestivos excesivos.
- Con una base sólidaUna conexión a tierra fiable del cuadro de distribución es fundamental para prevenir descargas eléctricas y otros riesgos para la seguridad. El cable de tierra debe tener una sección transversal adecuada para conectarse a la red de puesta a tierra.
- Grado de delgadez del alambreEs fundamental utilizar cables que coincidan con la corriente nominal y la carga de corriente prevista. Los cables demasiado delgados pueden provocar sobrecalentamiento e incendios.
- Conserve el registro de instalación.Un registro claro del calibre del cable, la capacidad del disyuntor, los detalles del diseño, etc., resulta útil para futuras inspecciones, actualizaciones o reparaciones.
- Condiciones climáticas extremasSi la caja de distribución ha estado expuesta a condiciones climáticas extremas, como tormentas eléctricas, lluvias intensas, altas temperaturas, etc., es necesario revisarla adicionalmente para asegurarse de que el equipo siga intacto y que el circuito no presente fallas.
Preguntas frecuentes
¿Cuál es el precio de las cajas de distribución eléctrica?
Una caja de distribución eléctrica puede costar desde varios cientos hasta varios miles de dólares. El precio específico depende de sus necesidades específicas.
¿Cuáles son los tamaños más comunes de cajas de distribución?
El tamaño de la caja de distribución se determina principalmente por tres factores: 1. El número de circuitos derivados necesarios. 2. Las dimensiones físicas de los componentes internos (por ejemplo, disyuntores, interruptores diferenciales). 3. El espacio necesario para el cableado para una instalación segura y conforme a la normativa. Normalmente, el tamaño de una caja de distribución residencial oscila entre 4 y 20 circuitos, mientras que las cajas comerciales e industriales pueden tener entre 20 y más de 40 circuitos.
¿Cómo puedo calcular el tamaño de la caja que necesito?
Puedes decidir el tamaño siguiendo estos pasos:
- Determina el número de dispositivos eléctricos y el número de circuitos derivados.
- Seleccione los interruptores automáticos, fusibles y demás componentes adecuados en función de la carga de cada circuito.
- El tamaño de la caja de distribución se seleccionará en función de las dimensiones totales de los componentes internos y del espacio necesario para el cableado.
¿Puedo personalizar una caja de distribución?
Sí, las cajas de distribución se pueden personalizar según los requisitos específicos de cada aplicación, como en entornos de alta temperatura, alta humedad, corrosivos o explosivos. Además, se pueden personalizar con el nivel de protección, el material y la estructura adecuados según las necesidades.
¿Cómo elegir una caja de distribución eléctrica adecuada?
Al elegir una caja de distribución eléctrica, puede tener en cuenta los siguientes factores:
- Entorno operativo: Las cajas de distribución eléctrica se pueden clasificar en residenciales, comerciales e industriales. Las cajas de distribución residenciales suelen ser más pequeñas y ligeras, mientras que las industriales están diseñadas específicamente para aplicaciones que requieren alta capacidad de potencia, como fábricas, almacenes o obras de construcción.
- Carga eléctrica: Elija cajas de distribución que puedan soportar una carga eléctrica ligeramente superior a la demanda, ya que una caja de distribución demasiado pequeña puede provocar que el disyuntor se dispare con frecuencia o que el sistema falle.
¿Cómo funciona un buzón de distribución?
El principio de funcionamiento de una caja de distribución eléctrica consiste en recibir electricidad de la línea eléctrica principal y distribuirla a través de las tomas de corriente, protegiendo los circuitos de las sobrecargas.
¿Cuál es la diferencia entre cajas de distribución y Cajas de conexiones?
Las cajas de distribución se utilizan para la distribución de energía, la protección de circuitos y la gestión de cables, mientras que las cajas de empalme se utilizan únicamente para la conexión y derivación de cables.
¿Cuál es el calendario de inspección recomendado para las cajas de distribución?
La frecuencia recomendada de inspección y mantenimiento debe ajustarse en función del entorno de aplicación y la criticidad de la carga.
| Solicitud | Inspección de rutina | Mantenimiento programado |
| Residencial | Cada 3-6 meses | Cada 1-2 años |
| Comercial | Cada 1-3 meses | Cada 6-12 meses |
| Industrial | Mensual | Cada 3-6 meses |
¿Cómo elegir el proveedor adecuado de cajas de distribución?
Al seleccionar un proveedor de cajas de distribución, puede tener en cuenta los siguientes factores:
- Calidad y certificación del productoLas cajas del proveedor deben cumplir con las normas internacionales y nacionales y poseer las certificaciones pertinentes.
- Fuerza técnicaElija proveedores que puedan ofrecerle orientación profesional para la selección del modelo, asistencia técnica para la instalación y soluciones personalizadas.
- Personalización¿Puede el proveedor cumplir con sus requisitos específicos (temperaturas extremas, atmósferas corrosivas, limitaciones de espacio, etc.)?
- Servicio postventa: Si el proveedor puede ofrecer servicios de mantenimiento oportunos, suministro de repuestos, consultoría técnica, etc.
- reputación en la industria: Compruebe la reputación del proveedor mediante estudios de mercado y reseñas en línea.
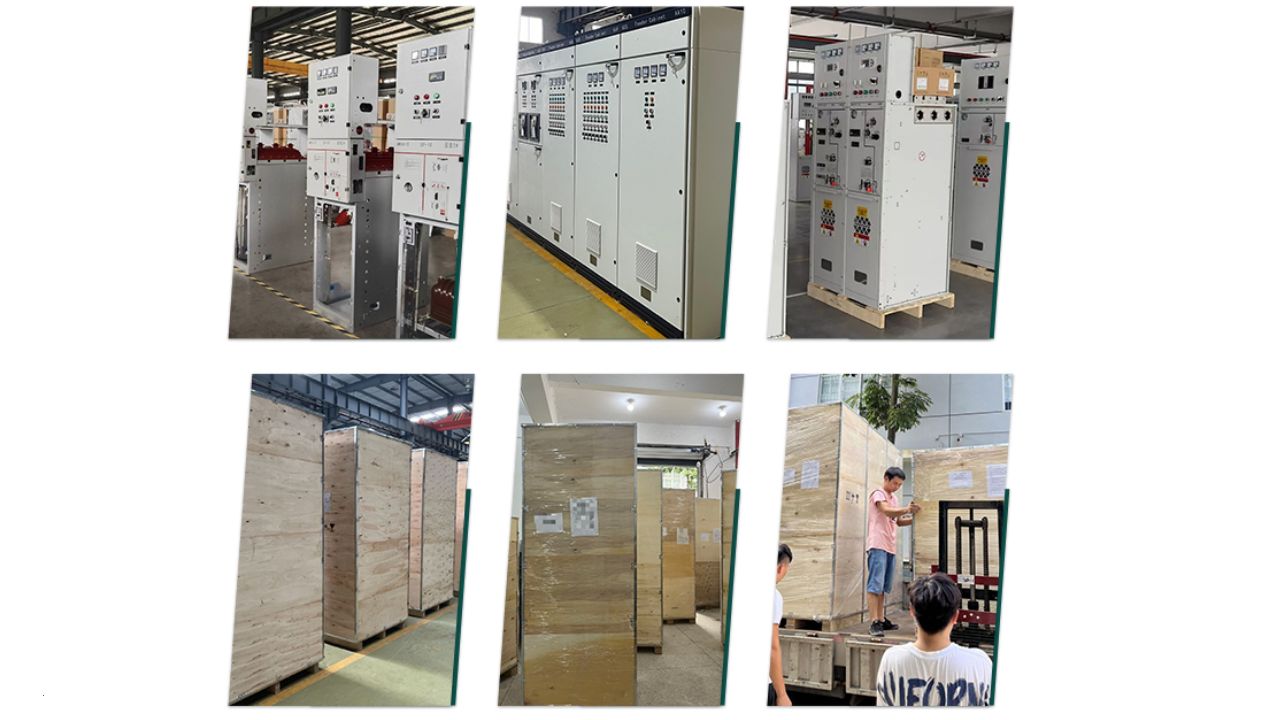
KDM: Le proporcionamos el mejor gabinete eléctrico.
KDM se especializa en la fabricación de gabinetes eléctricos y su personalización para adaptarlos a diversos entornos y aplicaciones. Un gabinete eléctrico adecuado es una parte esencial de una caja de distribución eléctrica. Si desea encontrar un gabinete eléctrico que se adapte mejor a su caja, no dude en contactarnos. Contáctenos. En tan solo 1 o 2 días, nuestros ingenieros pueden diseñar su recinto personalizado con todas las características requeridas aplicadas a sus cajas de distribución.