

您的水泵是否频繁启停或水压不稳定?正确安装压力罐是解决问题的根本之道。尺寸合适且由专业人员安装的压力罐是可靠高效供水系统的基石。本指南将清晰明了地指导您如何进行专业安装,这对于系统的使用寿命和质量至关重要。.
什么是压力罐?
一个 压力罐 它能储存加压水。这样一来,水泵就能以比频繁启停更高效的循环方式运行。它能保持管道内水流稳定,并防止水泵过快磨损。您可以把它看作是整个供水系统的关键缓冲装置。.
安装前规划
警报和系统问题通常是由于缺乏周密计划而仓促安装造成的。这时,您的专业知识就显得尤为重要,它直接影响着项目的最终结果。.
查看当地法规和安全注意事项
第一步永远是遵守规则。代码 电气外壳标准化, 水暖和电气方面的规范(例如UPC、IPC和NEC)因地区而异,且执行严格。务必获得所需的许可。这项工作涉及高压、大功率和重型工具,可能存在危险。.
- 佩戴符合要求的安全眼镜和手套 ANSI标准 是必须的。.
- 在接触任何电线之前,请务必使用万用表确认电源已关闭。.
- 在拆卸之前,先对整个系统进行泄压和排空。.
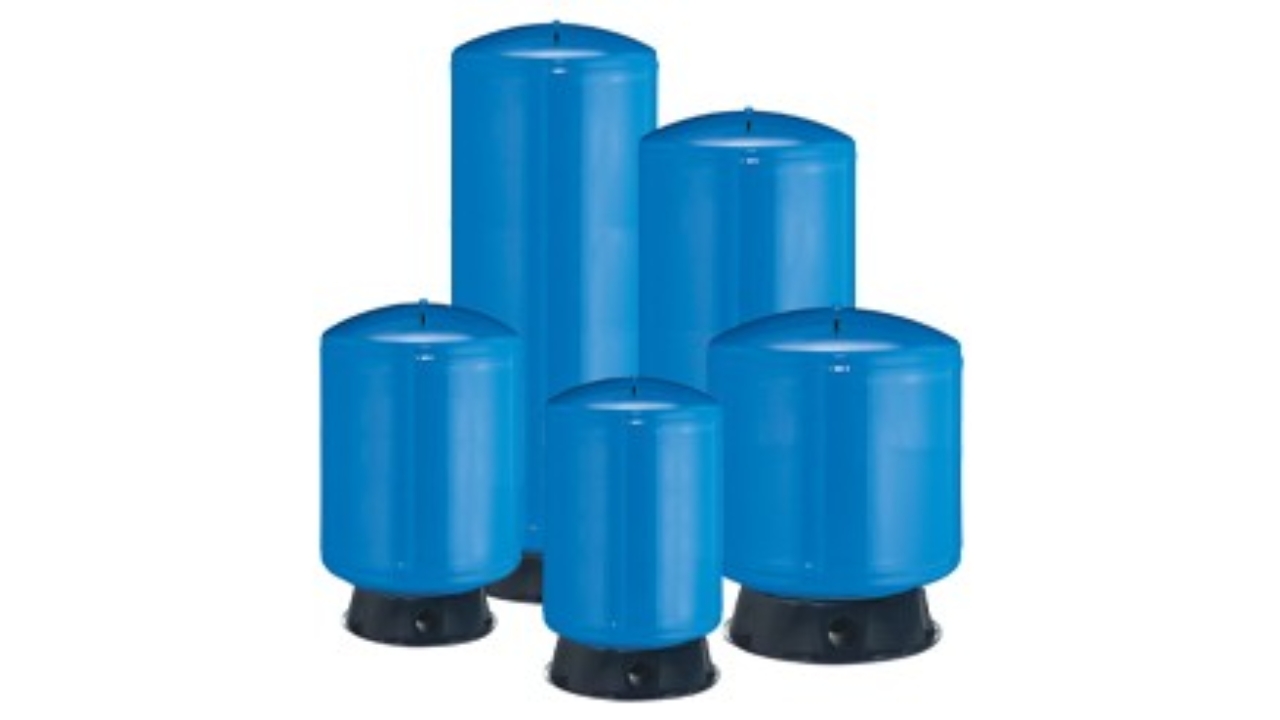
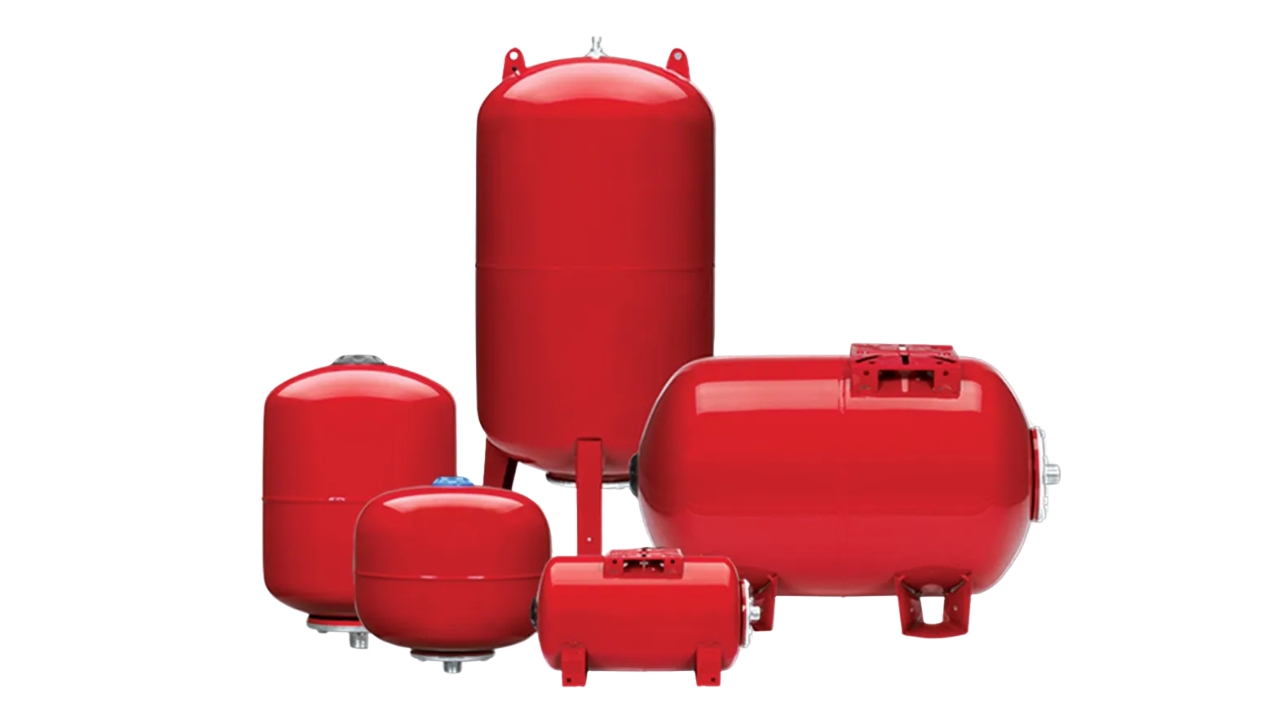
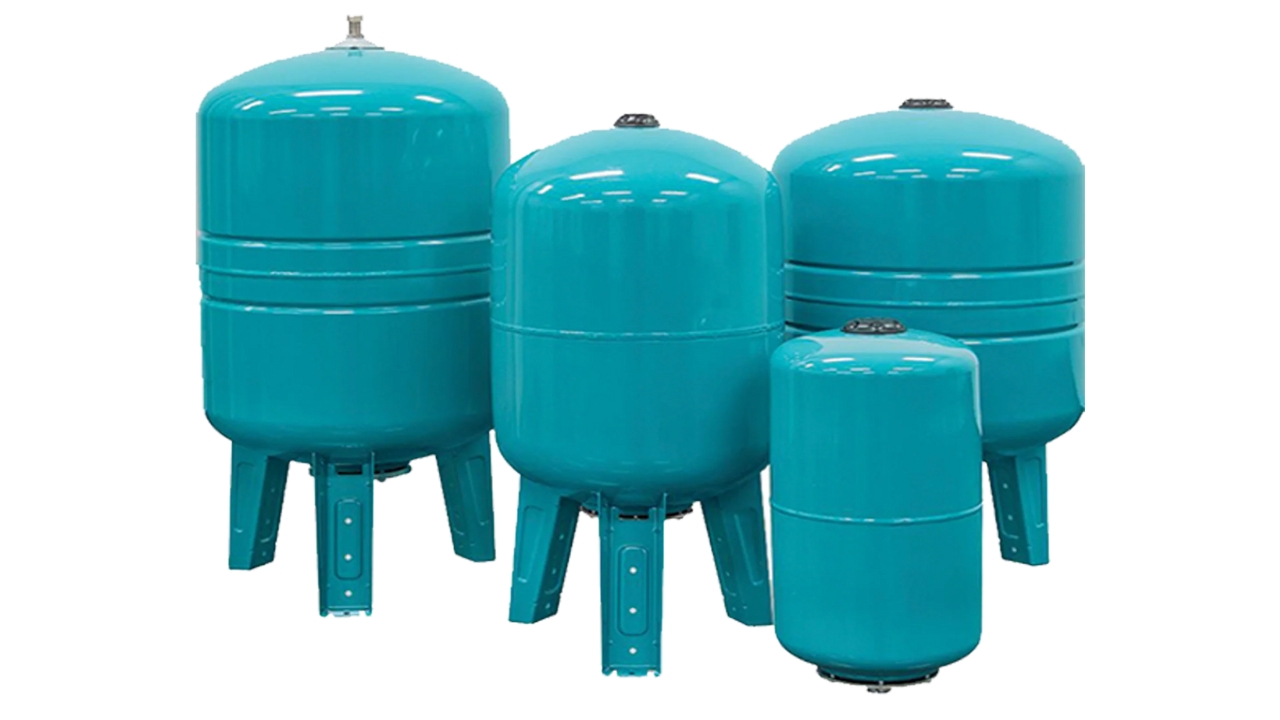
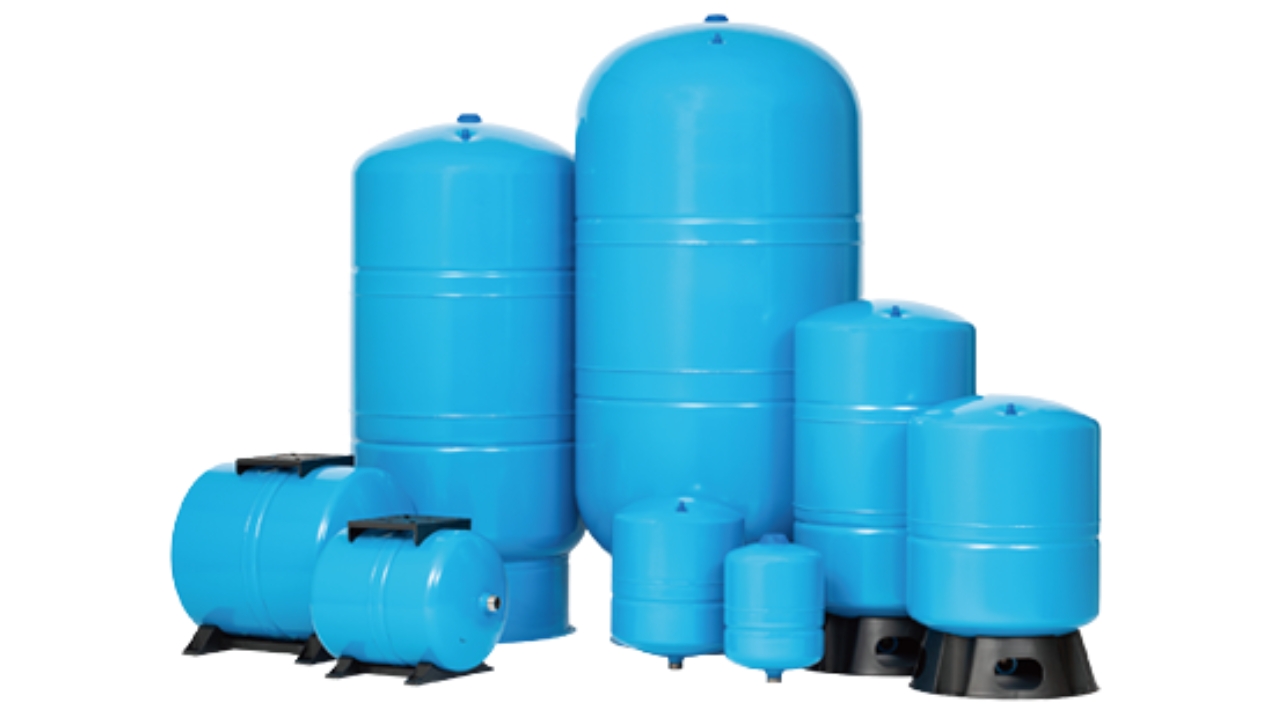
选择合适的储罐:关键在于排水量
安装过程中最常见的错误是选择容量过小的水箱。水箱的总容量固然重要,但更重要的是水箱在水泵启动和停止压力之间的吸水量。.
| 水泵流量(加仑/分钟) | 典型服务 | 最小推荐排水能力 | 常用水箱尺寸(约) |
| 5-10 加仑/分钟 | 小型住宅/小屋 | 3-7加仑 | 20加仑水箱 |
| 10-15 加仑/分钟 | 标准住宅 | 7-12加仑 | 30-44加仑水箱 |
| 15-25 加仑/分钟 | 大型住宅/轻型商业 | 12-20加仑 | 44-86加仑水箱 |
| 25+加仑/分钟 | 灌溉/商业/多单元 | 20加仑以上 | 多个储罐或大型商用储罐 |
对于大多数家庭用户而言,10加仑的递减率规则是安全的最低标准。KDM Steel 擅长设计和制造定制压力容器,能够满足严苛的商业、农业或工业用途的流量、压力和材料方面的精确要求。这确保您的系统经久耐用。.
工具和材料清单
要想把工作做好,你需要合适的工具。开始之前,请准备好以下物品:
工具:
- 一把可调扳手
- 两把管钳
- 管材切割器或钢锯
- 剥线钳和压线钳
- 万用表
- 轮胎压力表
- 空气压缩机。.
材料:
- 一个新的压力罐
- 储罐三通接头(维修时必需)
- 压力开关
- 压力表(0–100 psi)
- 排水阀
- 泄压阀
- 管道和配件(根据规范选用铜管、PEX管或PVC管)
- 特氟龙胶带或膏
- 绝缘连接(用于连接两种金属)。.
分步安装指南

步骤 1 – 准备工作区域
清除安装现场的所有污垢。确保光线充足、空气流通。将新水箱放置在坚固、水平的表面上,并考虑日后的维护保养方式。将所有工具和零件摆放整齐,以便顺利完成安装。.
第二步——完全关闭所有公用设施
- 要关闭水泵或供水系统,请找到断路器并将其关闭。做好标记以防万一。.
- 关闭机器的主供水阀。.
- 打开建筑物内最低处的龙头和水箱附近的软管龙头,排空所有水并降低系统压力。不要关闭它们。.
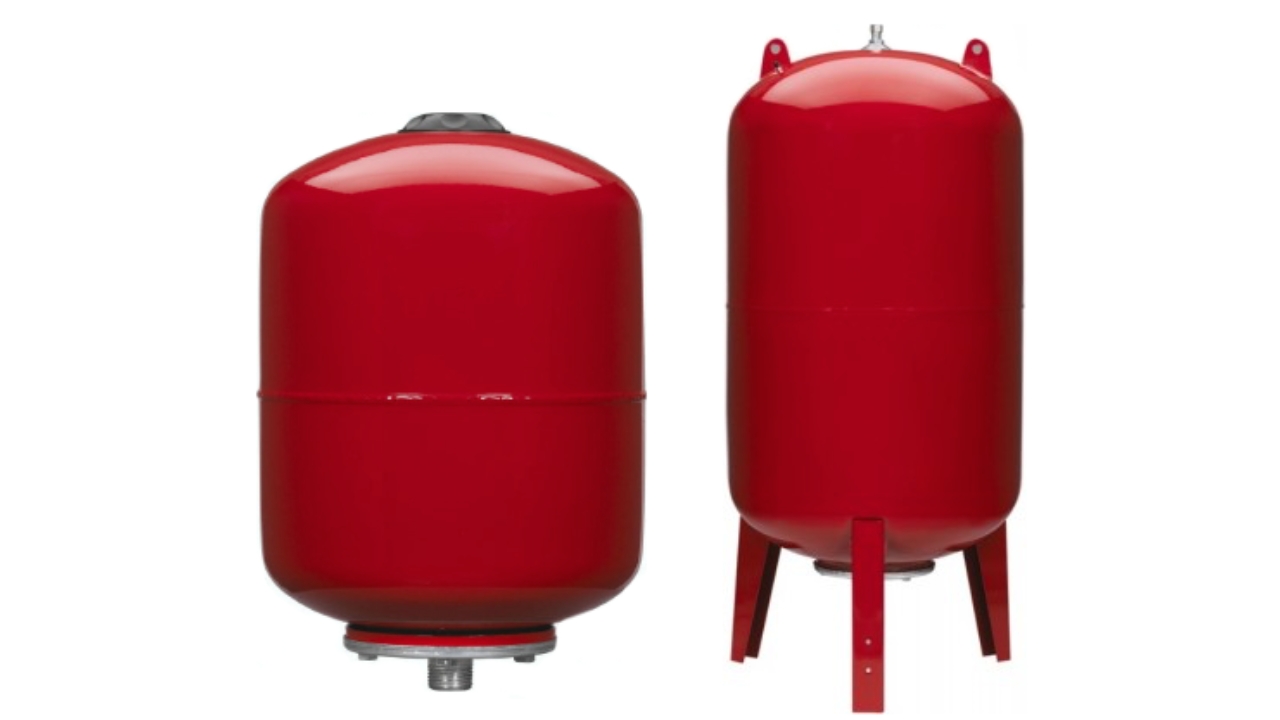
步骤 3 – 断开并拆除旧水箱(如适用)
使用管道工具,拆下旧水箱上的水管。如果需要,暂时封住水管。仔细标记从压力开关引出的电线(“线路”、“负载”和“接地”)。移除旧水箱,并排空其中剩余的水。妥善处理旧水箱至关重要。.
第四步——检查和准备新油箱
预充气检查非常重要。使用普通胎压计检查气罐上 Schrader 气门嘴的气压。该气门嘴通常隐藏在蓝色或黑色塑料盖下方。对于 40/60 开关,标准预充气压力通常为 38 PSI。.
预充气压力应比泵的启动压力低 2 至 4 PSI。对于 30/50 开关,预充气压力应设置为 28 PSI。要充气或放气,请使用空气压缩机。此步骤可立即防止气囊损坏和系统故障。.
第五步——安装储罐三通和配件
在工作台上组装储罐三通接头。将压力开关、压力表、排水阀和泄压阀安装到三通接头的相应位置。所有螺纹处都要涂抹优质管道密封剂。使用三通接头,以后维修时无需切割管道。.
步骤 6 – 连接到水管
将组装好的水箱三通接头安装到水箱的出水口上。用扳手拧紧,但不要过度拧紧水箱上的黄铜接头。然后,将水箱三通接头连接到水泵的主水管上。使用合适的管道,并确保所有连接牢固安全。.
步骤 7 – 电气连接(压力开关)
确认电源已关闭后,将电线连接到新的压力开关上。通常情况下:
- 开关上的线路连接到“线路”或“L1”和“L2”端子。.
- 要将负载线连接到泵,请使用标有“T1”和“T2”或“Load”的连接线。”
- 绿色的接地螺丝是连接接地线的地方。.
确保盖子盖紧,电线已穿入开关盒内。.
步骤 8 – 设置压力开关和最终预充气检查
压力开关内部有两个带弹簧的活动螺母。较大的螺母控制着启动/停止范围,例如 30/50 PSI。较小的螺母则调节两者之间的差值(通常为 20 PSI)。将它们设置到所需的压力值。在设置新的启动压力之前,请最后一次检查储气罐的预充气压力,确保其仍然比启动压力低 2 到 4 PSI。.
步骤九——接通水电——关键时刻
- 缓慢打开主水阀。让水箱注满水,然后听打开水龙头时空气排出的声音。.
- 当打开的水龙头有稳定的水流且不会结冰时,就把它们关上。.
- 检查你制作的每一个新连接和接头是否有泄漏。如有必要,稍微拧紧一下,务必这样做。 不锈钢罐焊接 安装前。.
- 在确定没有漏电之前,不要打开电路开关的电源。.
现在水泵应该启动,压力逐渐升高直至达到停止点,然后停止。干得好!工作完成了。.
安装后测试与故障排除
初始系统测试
注意观察最初几轮的运行情况。正常的排水事件,例如冲马桶,两次水泵启动之间应该间隔较长时间。使用压力表确保开关设置正确。.
泄漏检测
应检查所有接头、气阀阀杆和储气罐内是否有积水。肥皂水和水的混合液有助于发现施拉德阀处的微小漏气。.
常见问题及解决方法
以下是水箱的常见问题:
积水(空气压力损失)
问题
水泵每隔 10 到 30 秒就会启动和停止一次,而且水箱感觉很重。.
使固定
排空系统,检查预充气情况,并进行必要的调整。如果水箱内的隔膜破裂,导致水箱无法保持空气或水从气阀流出,则需要更换隔膜。这是水泵频繁启动/停止的主要原因之一。.
奇怪的噪音(砰砰声或咔哒声)
问题
水锤效应表现为巨大的砰砰声。.
使固定
加装水锤消除器即可解决问题。如果开关发出快速咔嗒声,则表示触点脏污或开关损坏。.
快速泵式循环
当用水量不大时,如果水泵频繁启动和停止,可能是以下四种原因之一造成的:
1)储气罐预充压力不正确
2)被淹或失效的水箱
3)管道系统泄漏
4)压力开关损坏。.
延长系统寿命的专业维护技巧
压力罐并非“安装后即可高枕无忧”。主动维护可预防90%故障。.
季度预收费检查
最重要的一点是,在检查和更换空气之前,务必确保水泵已关闭且水压为零。.
检查压力表和阀门
确保压力表读数正确,并且泄压阀没有泄漏。每年用手测试一下泄压阀按钮。.
季节性及环境检查
水箱温度不高时,必须进行保温,或者在寒冷地区排空水箱内的水。对于沉积物较多的系统,定期通过排水阀清理水箱可以延长其使用寿命。水系统委员会提供了许多维护方面的实用工具。.
常见问题解答
我应该多久检查一次储气罐压力?
每三个月检查一次空气预充装置是否仍然正常工作。.
我的压力罐为什么会漏气?
可能是气门嘴(工作原理类似于轮胎气门嘴)损坏,或者内部气囊破裂需要更换。.
我的压力罐需要充气吗?
是的,如果预充气压不高的话。要达到合适的胎压,请使用胎压计和气泵。.
我需要多大的压力罐?
这取决于水泵的流量。一般来说,水箱容量应为每1加仑/分钟(GPM)水泵流量对应1.2加仑水。如果您的需求比较复杂,可以使用工程工具箱中的水箱容量计算器。.
我可以自己安装压力罐吗?
只要懂得如何使用工具并遵守安全规则和规范,一个人就能完成这项工作。对于复杂的系统或您不确定如何操作的情况,最好聘请专业人士。.
我的泵为什么会出现短周期运行?
最常见的原因是水箱预充水不正确或水箱装得太满,导致水泵频繁运转。.
压力罐应该承受多少PSI的压力?
大多数情况下,空气预充压力设定为比泵的启动压力低 2 到 4 PSI,例如对于 30/50 PSI 开关,预充压力为 28 PSI。.
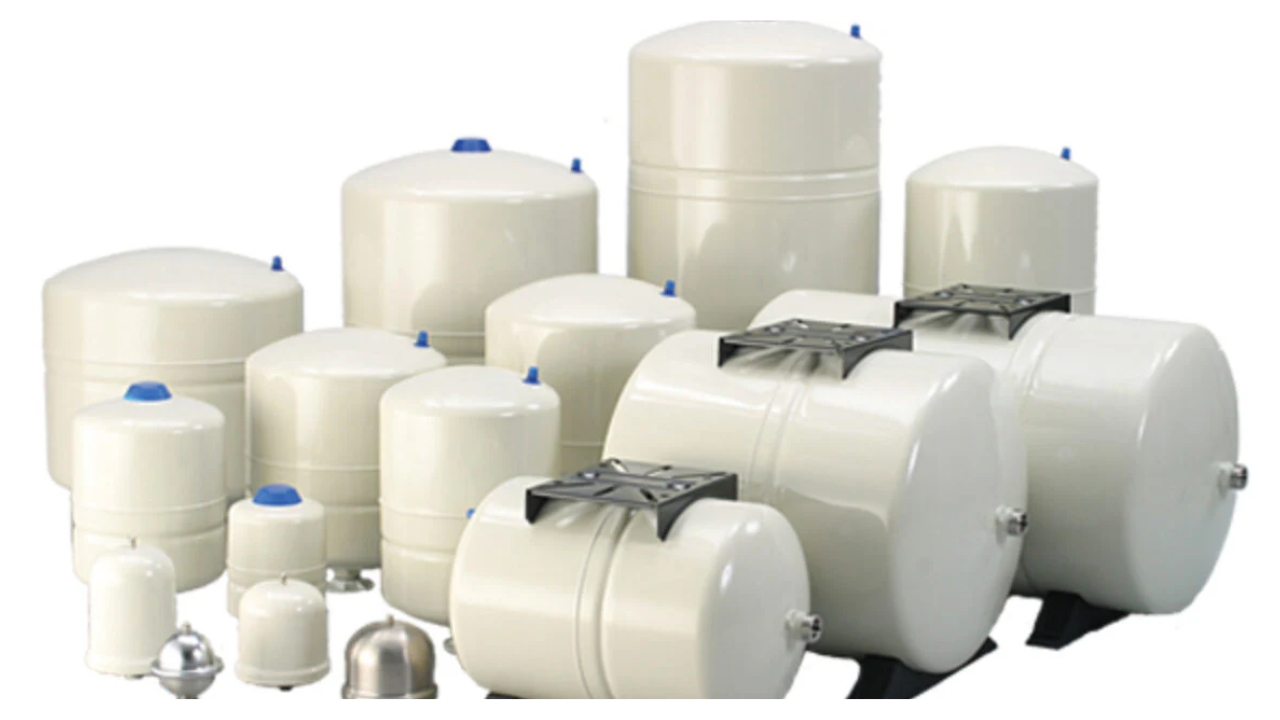
工程解决方案:从 KDM Steel 获取您的定制压力罐
市面上现有的储罐并非总能完美满足特定的商业、工业或农业用途。当您的项目需要特殊材料(例如不锈钢以防止腐蚀)、大容量储罐或特定压力时,您需要定制的工程解决方案。.
KDM钢铁公司非常擅长制造定制压力容器, 不锈钢压力容器 性能卓越。我们的团队成员将与您合作,打造一款与您的系统完美匹配的储气罐,确保其运行完美且经久耐用。. 联系我们 立即获取个性化报价。.