

如果家里的插座出现裂缝、缺损或插拔电器时感觉松动,就该更换了。损坏的插座若不及时维修,可能会导致短路和触电。.
好消息是,更换插座并没有想象中那么难。只需少量工具并注意安全,你就能在几分钟内安全地更换一个电源插座。以下是更换插座的详细步骤,保证安全正确。.
开始之前
安全第一
操作电器时需要格外小心。在开始自行更换插座之前,请确保您已配备安全防护装备。.
穿:
- 闭趾鞋
- 长裤和长袖衬衫
- 保暖手套
- 安全眼镜
此外,请摘除任何可能意外接触带电电线的珠宝或金属饰品。.
触摸任何物品前请务必关闭电源。关闭电源可以防止触电、电击,并有助于避免工作时出现电压尖峰或短路。.
如果您对操作电气系统没有信心,请不要冒险。请联系持证电工进行安全更换。.
你需要准备什么
工具:
- 电压测试仪
- 螺丝刀
- 剥线钳
材料:
- 电工胶带
- 替换插座
更换旧电源插座的简单步骤
1. 关闭电源
首先,务必关闭您要更换的插座的电源,方法是关闭家中配电箱内的断路器。许多配电箱上都有标签图表,可以帮助您确定哪个开关对应哪个房间或电器。.
2. 确保电源已关闭
关闭断路器后,拿出电压测试仪测试插座,确保没有电流通过。如果没有电压测试仪,可以插上一个小台灯或其他电器,确保它不会亮起。只有在确认插座完全断电后,才能继续下一步操作。.
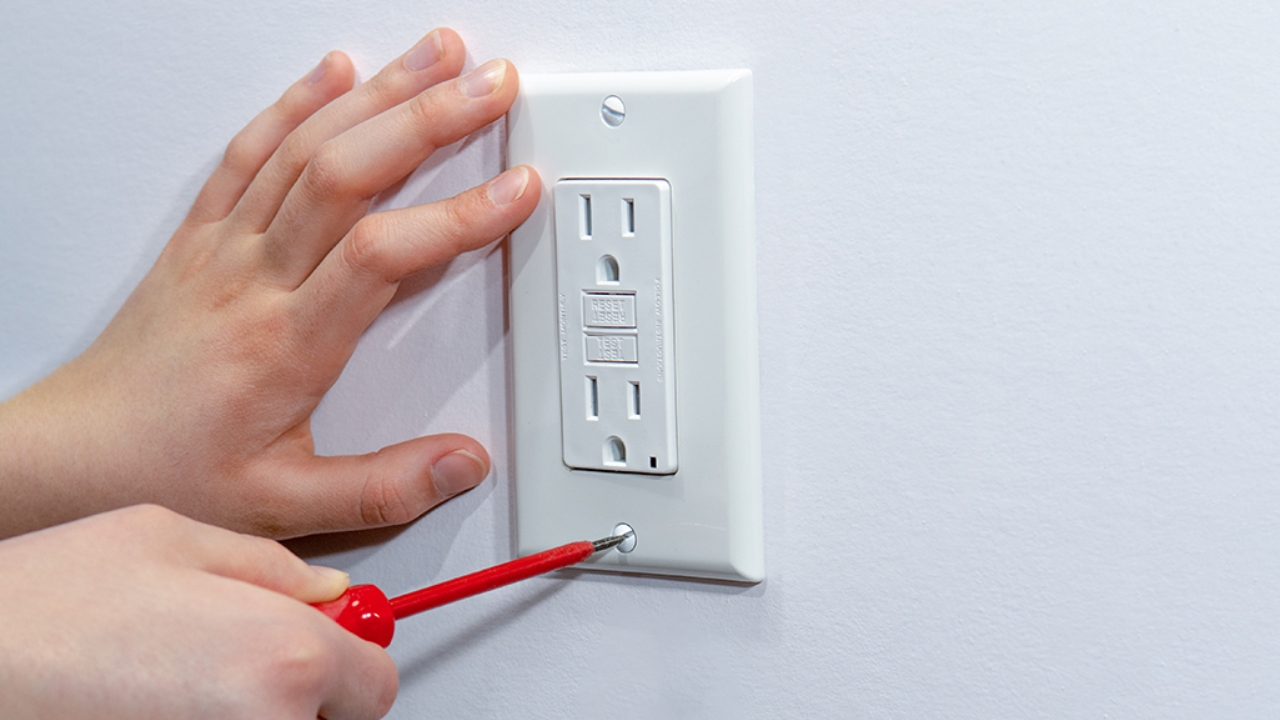
3. 拆下盖板插座
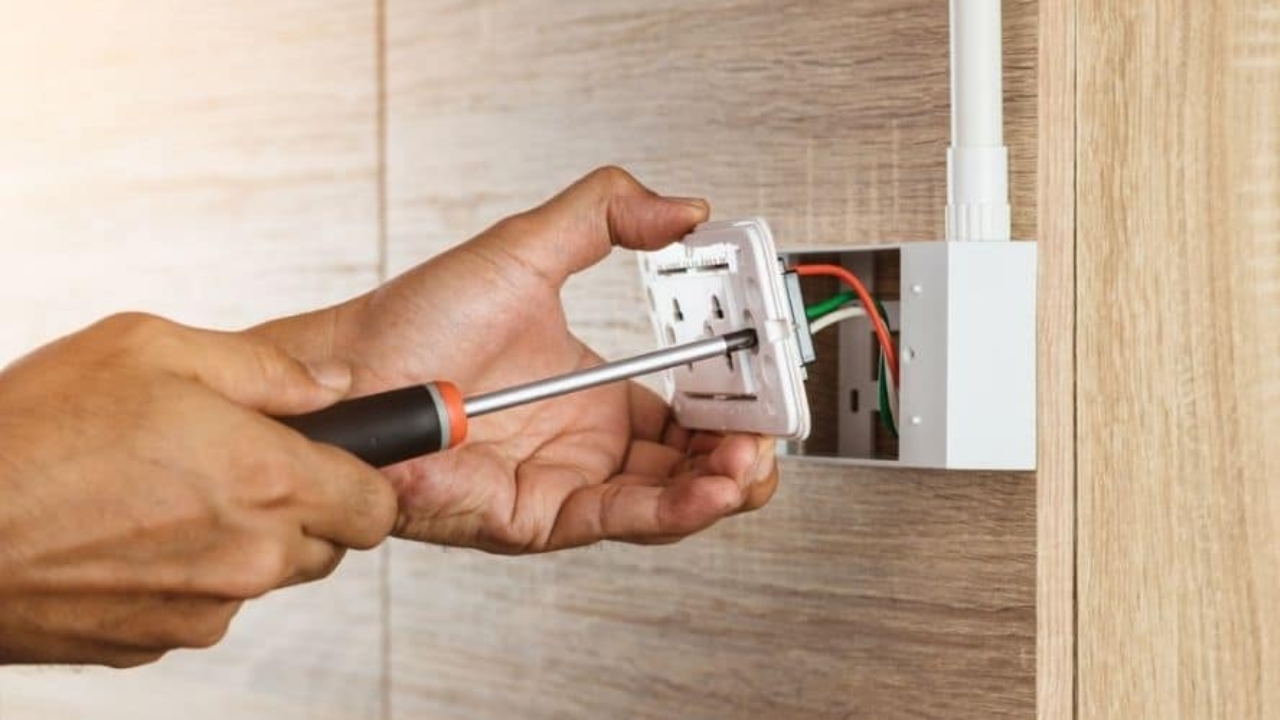
接下来,用螺丝刀松开螺丝,取下插座盖板。然后,将螺丝和盖板放在一边。盖板下方,你会看到插座,它由两颗螺丝固定在墙上——一颗在顶部,一颗在底部。.
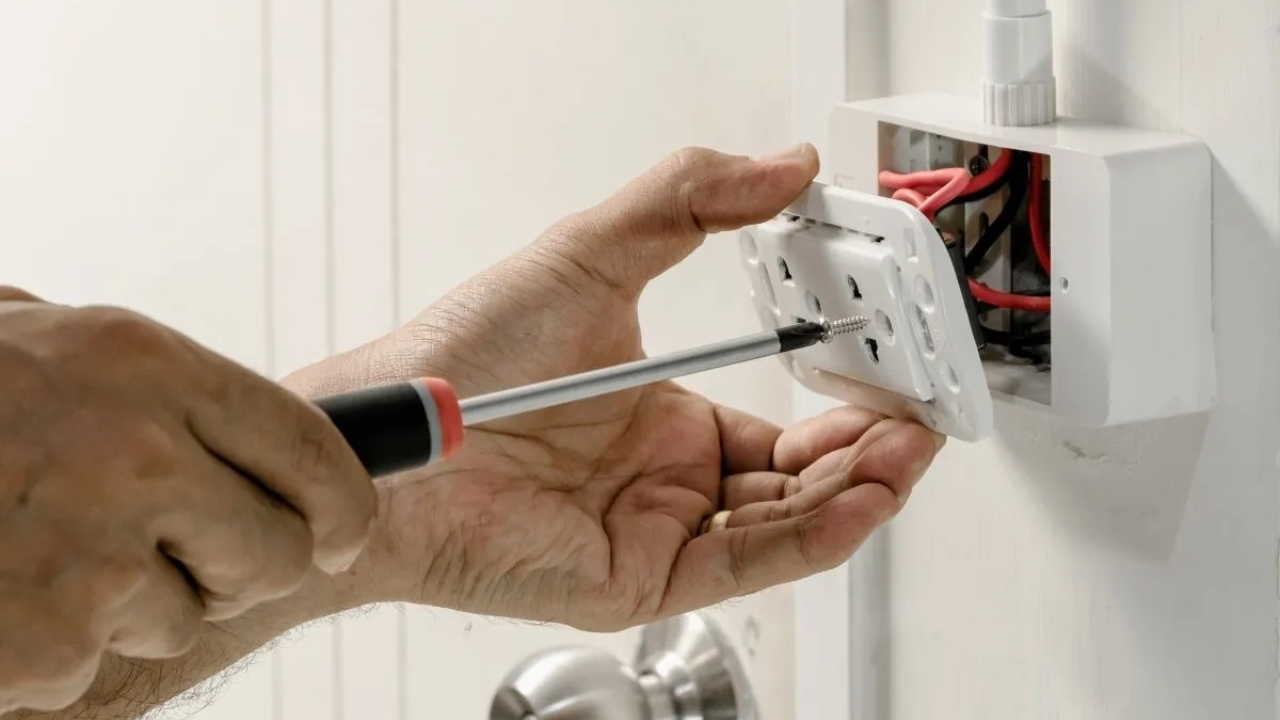
4. 拧下插座并将其拉出
松开插座顶部和底部的螺丝。然后,轻轻地将插座从墙上拉出。不要用力过猛,以免断开连接的电线。您应该可以看到三根电线连接到插座的背面或侧面。
5. 记录或标记接线情况
在拆卸任何电线之前,请记下每根电线的颜色对应哪个螺丝端子。您可以拍摄一张清晰的照片或一段简短的视频,记录所有连接方式。这将在您稍后连接新插座时作为参考。通常情况下,您会发现:
- 一根黑色(带电)导线承载电流
- 一根白色(零线)
- 一根绿色或裸露的铜(接地)线
6. 断开旧插座
拧松螺丝后,轻轻地拆下每根电线。仔细检查电线。如果电线出现磨损、烧焦或损坏,请使用剥线钳修剪末端,露出干净的铜线。如果电线状况良好,您可以寄回修剪好的电线,直接连接新的插座。.
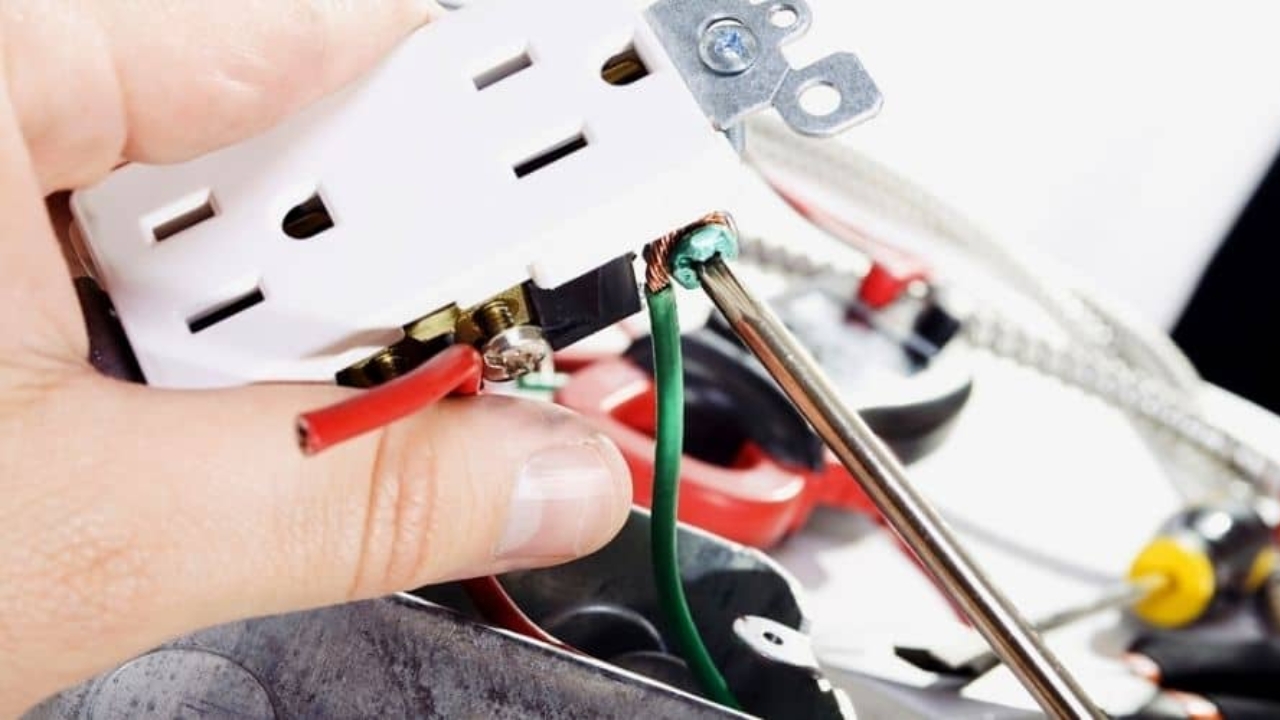
7. 按照正确的位置将所有电线连接到新插座上
现在,按照之前的顺序将电线连接到新的插座上。.
- 将黑线连接到黄铜螺丝上
- 将白色电线连接到银色螺丝上
- 绿色或铜色的电线连接到绿色的螺丝上。
仔细核对参考照片或视频,确保所有部件都与原先的安装方式一致。所有螺丝安装到位后,务必拧紧,防止电线移动。.
8. 重新安装插座和面板
小心地将电线塞回墙盒内,并对准插座。使用安装螺丝将其牢固地固定在墙上。然后,重新安装面板,或者如果您想升级外观,可以更换新的面板。.
确保所有部件都紧贴墙面,并且没有电线外露。.
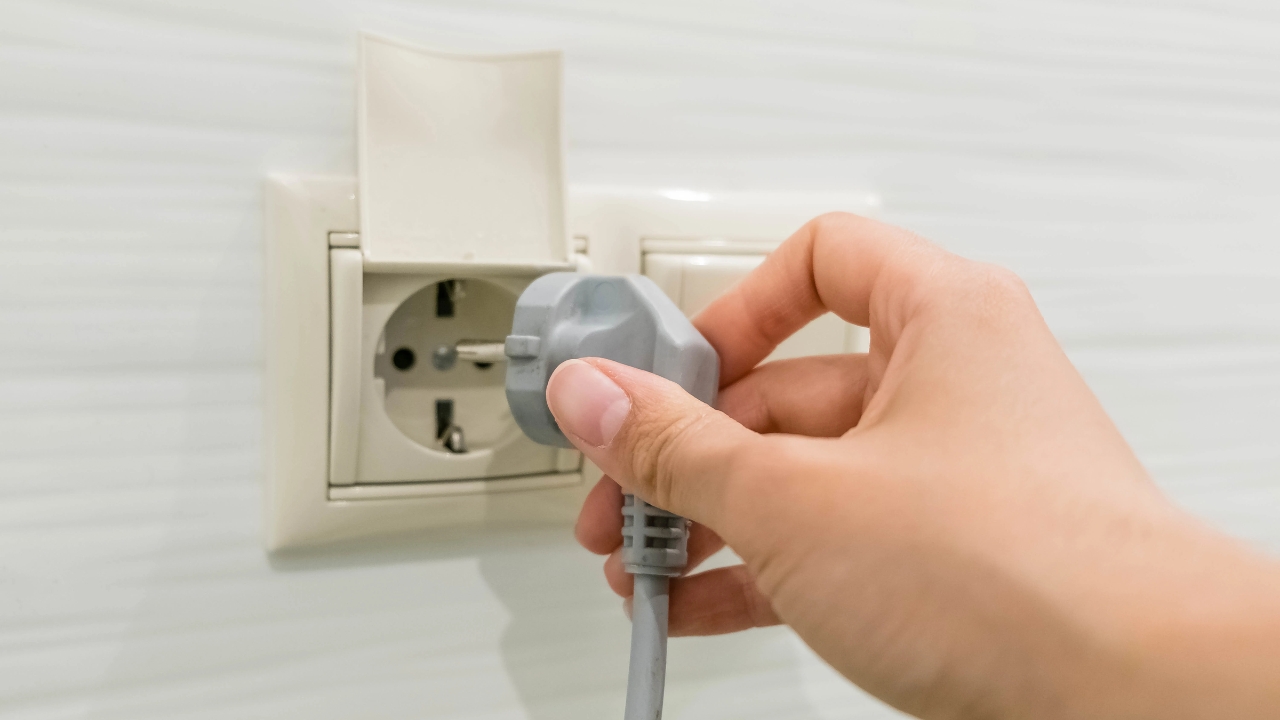
9. 重新接通电源并进行测试
要恢复供电,请打开断路器。使用电压测试仪测试插座,查看是否通电。如果设备工作正常,并且感觉没有任何发热或松动,那么您就成功更换了插座!
安全更换插座的额外提示
- 请确保新插座的安培数与您家电气系统的电压额定值相匹配。.
- 安装后,如果发现插座出现火花、冒烟或异常发热,请立即关闭电源。联系专业电工。.
- 在户外区域、厨房或浴室使用CGFI插座。
- 工具箱里要常备一个电压测试仪。它是电气工作中最重要的工具之一。
结论
学会更换电源插座是一项实用技能,可以节省您的时间和金钱。只需一些简单的工具,并注意安全,您就可以自行更换损坏或老化的插座。.
但是,如果您对线路或电气系统有任何疑问,请毫不犹豫地联系持证电工。处理用电事宜时,安全永远是第一位的。.