

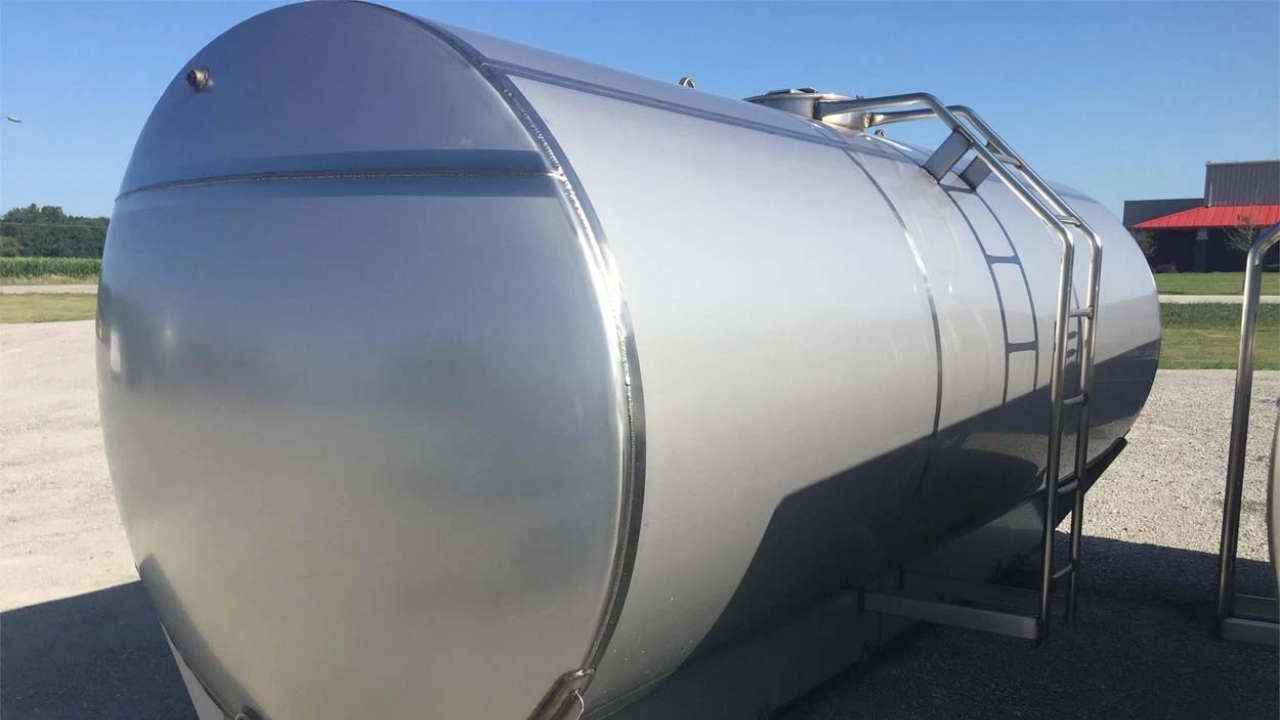
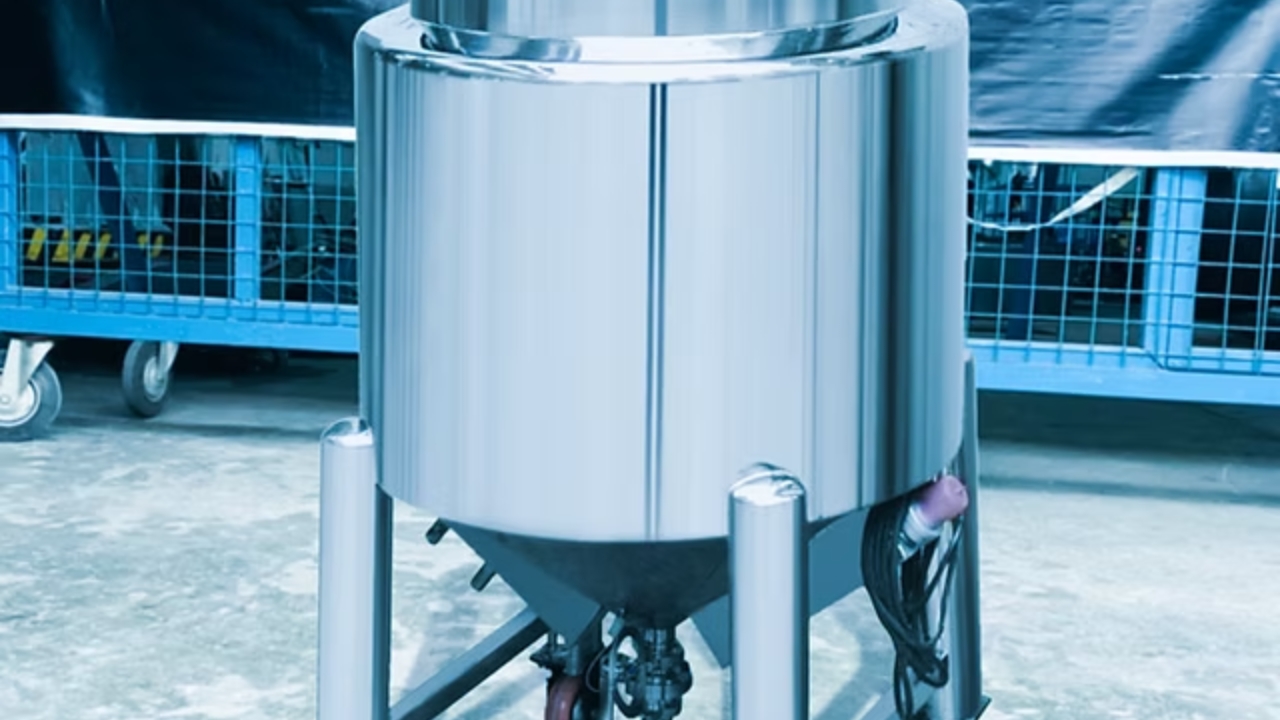
에이 stainless steel tank that is perfectly polished is more than just a nice-looking thing; it is also important for cleanliness, resistance to corrosion, and product integrity in harsh environments. To get that perfect finish, people who work in manufacturing, processing, and repair need to know the right skills and methods. This guide gives you a clear outline for polishing a stainless steel tank and choosing the right size of steel tank to an expert level.
Understanding Stainless Steel & Polishing Basics
This metal does not rust because it has a clear layer of chromium oxide covering it. When you polish something, you do more than just make it shiny. You also improve this passive layer by making the surface smooth and getting rid of tiny holes that dirt can hide in.
Satin mill finish and #8 mirror shine that sparkles are two finishes that are often used. The process constantly lowers the surface roughness (Ra value), which directly improves how easy it is to clean, how long it lasts, and how well it does not stick or rust. You need to know what look you want before you can choose the right method.
Types of Stainless Steel Tank Polishing Methods
Choosing the right method is important for both speed and quality of results.
Mechanical/Abrasive Polishing:
This is the widely used way in industry. The surface is ground and polished directly with power tools that use finer and finer abrasives. It’s great for getting rid of scratches and weld marks and giving things different levels of shine, from satin to high-gloss.
Electropolishing:
Chemicals and electricity are used to remove a thin layer of material from the surface. It gives things a smooth, even, micro-smooth finish that makes them less likely to rust. It works well for complicated forms and clean uses in the drug, food, and electronics industries.
Hand/Manual Polishing:
This can be used for touch-ups, rough work, or small places. Abrasive pads, sandpaper, and solutions are used, but it takes a lot of work to get big, steady results.
| Method | Best For | Key Advantage | Consideration |
| 기계적 | Large areas, weld cleanup, custom finishes | Versatility, cost-effective for big projects | Requires a skilled operator to avoid imperfections |
| 전해연마 | Hygienic/clean-critical applications | Superior corrosion & chemical resistance | Requires specialized equipment and a facility |
| 수동 | Spot repairs, small tanks, tight budgets | Low initial tool investment | Time-consuming, inconsistent on large surfaces |
Tools & Materials Needed
- Safety gear includes safety glasses, a mask, hearing protection, and gloves that will not cut you.
- Stainless steel polishing tools include an angle grinder with variable speed, polishing pads, and a rotating buffer.
- Sanding discs (80–3000 grit), non-woven abrasive pads, and polishing products (greaseless, rouge) are all types of abrasives.
- Accessories: flap wheels that are rough, rubbing wheels made of sisal and cotton, and a cleaner for stainless steel.
Step-by-Step Polishing Process: A Detailed Guide
Step 1 — Clean & Prepare the Tank
First, get rid of all the process leftovers, grease, oils, and labels that stick to the tank. If you want to clean stainless steel, use a cleaner that does not contain chlorine or a mixture of hot water and light detergent. Citrus-based solvents work well for getting rid of tough contaminants like glue. Rinse well with clean water and dry fully with cloths that do not have lint on them.
Step 2 — Inspect & Repair the Surface
Do a thorough visual and tactile check with bright, angled light. Use a pen that can be erased to mark all flaws, such as deep scratches, weld splatter, pitting, or heat tint. To carefully fix these small holes, use a special grinding tool with a 36–60 grit flap disc or wheel and feather the edges into the metal around them.
Step 3 — Coarse Grit Sanding (Leveling)
This step is all about aggressively getting rid of material and leveling the surface. Put an abrasive disc with 80 to 120 grit on your sander or mill. Do your work in a planned way, making straight passes that overlap and always going in the same direction (like along the length of the tank). Use even, mild pressure to cut quickly without putting too much stress on the tool. Once the surface is smooth and free of big flaws, move on to the next step in your plan (for example, 150 grit, then 220 grit).
Step 4 — Medium Grit Buffing (Refining)
You are now switching from cutting to smoothing. Utilize non-woven abrasive pads, sisal polishing wheels, or 320–800 grit greaseless compounds. At this stage, tools like air-powered rotary disc sanders work really well. In order to achieve this, the scratches that can be seen after rough sanding must be removed and replaced with a smoother, more satin-like finish.
Step 5 — Fine Buffing & Finishing (Polishing)
Here is where the real shine shows through. Use a clean, dedicated cotton buffing wheel and a high-grit polishing compound (1000 grit or more, usually a white rouge or green compound for stainless steel). Do not put too much of the powder on the wheel. The finish will change from a smooth satin to a shiny finish that reflects light. To get a mirror (#8) finish, you can use different grades of compound and finish with a clean, very loose cotton wheel and a fine finishing compound.
Step 6 — Clean After Polishing
A polishes leave behind a very small film that can trap water and stain surfaces. Clean the whole area with a clean rag and the right solvent, like isopropyl alcohol or acetone. Then, give it one last wash with a pH-neutral stainless steel cleaner to bring back the passive layer. Let it dry fully. Before it is used or put away, the tank should be completely clean to the touch.
Safety Best Practices: Your Essential Protocol
PPE Checklist:
Personal Protective Equipment (PPE) is like your main shield. A full-face shield keeps your eyes and face safe from flying objects and broken wheels. To avoid breathing in fine metallic dust and compound fumes, you must wear a respirator that has been cleared by NIOSH and has P100 filters. For long periods of time using tools, you must wear heavy-duty gloves that will not cut you, hearing protection, and sturdy work clothes. Check out our fabrication shop safety rules to learn more about safety at work.
Safe Operation of Grinders and Buffers:
Before you use power tools and abrasives, you should always check them for damage. Make sure the piece of work is firmly braced so it does not move. Stand still, hold the tools with both hands, and wait for the grinder or cleaner to reach full speed before touching it. Do not push or pull on the tool; instead, use steady, light pressure and move it slowly to avoid making grooves or heat spots. Before moving accessories, you should always turn off the power.
Fire Prevention Around Polishing Compounds:
Lint from cotton wheels and oils in many combinations are very easy to catch fire, and friction makes heat. Always do your work in a room with good air flow and no open fires or sparks. To keep oil-soaked rags from setting fire to themselves, store them in a metal container that has been approved and sealed. At your desk, keep a Class ABC fire extinguisher that you can get to right away.
Common Mistakes & How to Avoid Them
Skipping Grit Steps (The Cardinal Error):
It might seem faster to go from a 120-grit disc to a polishing solution right away, but you will fail. The deep scratches are still there; a shiny layer has just been added on top of them. You will quickly be able to see them.
Solution:
Be patient and follow the whole abrasive development. Each step must completely erase the scratch pattern left over from the last step. If all the scratches are going in the same way, it is best to wait before moving on to the next grit.
Creating Uneven, “Wavy” Finishes:
This happens when you use uneven hand pressure, stay in one place for too long, or sand curved surfaces with a sanding pad that is not supported.
Solution:
For flat surfaces, use sanders with big, stiff backing pads. For bends, use flexible pads or make sure the tool fits the shape. Keep the tool head moving steadily and smoothly, applying equal pressure to the whole thing.
Overheating the Metal:
When there is too much speed or pressure, strong localized heat is created, which turns the steel “blue” or changes color, the heat damage anneals the surface, which makes the chromium oxide layer weaker and more likely to rust.
Solution:
Use tools with variable speeds and run at the suggested RPMs. Move the sander or buffer all the time. Feel the metal often with your hand away from the work area. If it feels hot, stop and let it cool down.
Cross-Contamination with Carbon Steel:
If you buff, sand, or use a wire brush that has been used on carbon steel before, it will leave ferrous bits on the surface of your stainless steel. This causes rust spots that will not go away, which is called “free iron contamination.”
Solution:
Separate tools that are only for working with stainless steel. Only use wire brushes made of stainless steel. Keep tools separate. If you think the tank might be contaminated, passivate it after cleaning to put back the protective layer.
Maintenance Tips After Polishing
- Regular Cleaning: Use pH-neutral cleaners and soft cloths. Avoid chlorides and abrasive pads. For structured products, consider our guide on 스테인리스 스틸 제작 for optimal care.
- Protective Films: Temporary adhesive films can protect finishes during transport or construction.
- Proper Handling: Use padded slings and avoid contact with other metals. Store in a clean, dry environment to preserve the shine.
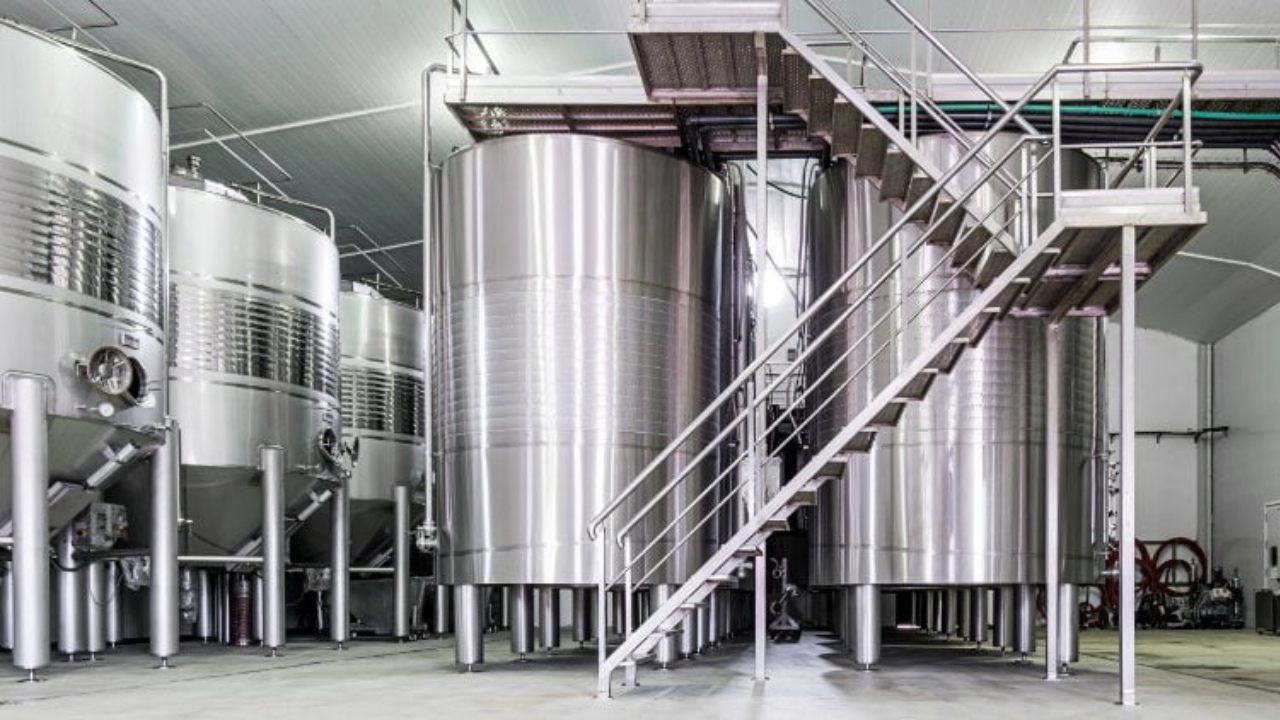
Stainless Steel Tank Polishing Services by KDM Steel
Professional services are best for important tasks that need to be done with accuracy, regularity, and on time. KDM스틸 does expert mechanical polishing and works with reliable partners to do electropolishing. This makes sure that the finish and performance of your tanks meet the top standards in the industry. Check out our industrial tank options to see how we add finishing to our full range of services.
자주 묻는 질문
What grit should I start with?
We recommend starting with the coarsest grit that will get rid of the deepest flaw. Abrasive 80 to 120 grit is good for heavy weld cracks, while 220 grit may be enough for light scratches.
Can I polish stainless steel by hand?
Yes, for very small spots or touch-ups. Utilize a sanding block and increasingly finer wet/dry sandpaper, then apply a polish by hand. Mechanical ways are needed for full tanks to be complete and work well.
How often should tanks be re-polished?
The environment (like chemical contact or abrasion) affects the frequency. A yearly inspection is needed, and the surface should be polished when dullness or tiny contamination makes the process impossible.
Is cleaning rust possible?
Naturally, for example, flash rust, which is light surface rust, can be taken off manually. However, if rust causes deep pits, the metal may need to be welded and refinished in addition to polishing.
Is polishing the same as buffing?
Polishing is usually followed by buffing, which uses very fine abrasives to make something shine. Generally, polishing means shape and smoothing the surface.
Can compounds damage stainless steel?
Yes, if used wrongly. 1066 Carbon steel compounds can get into stainless steel. Always use stainless steel-specific chemicals and get rid of all residue.
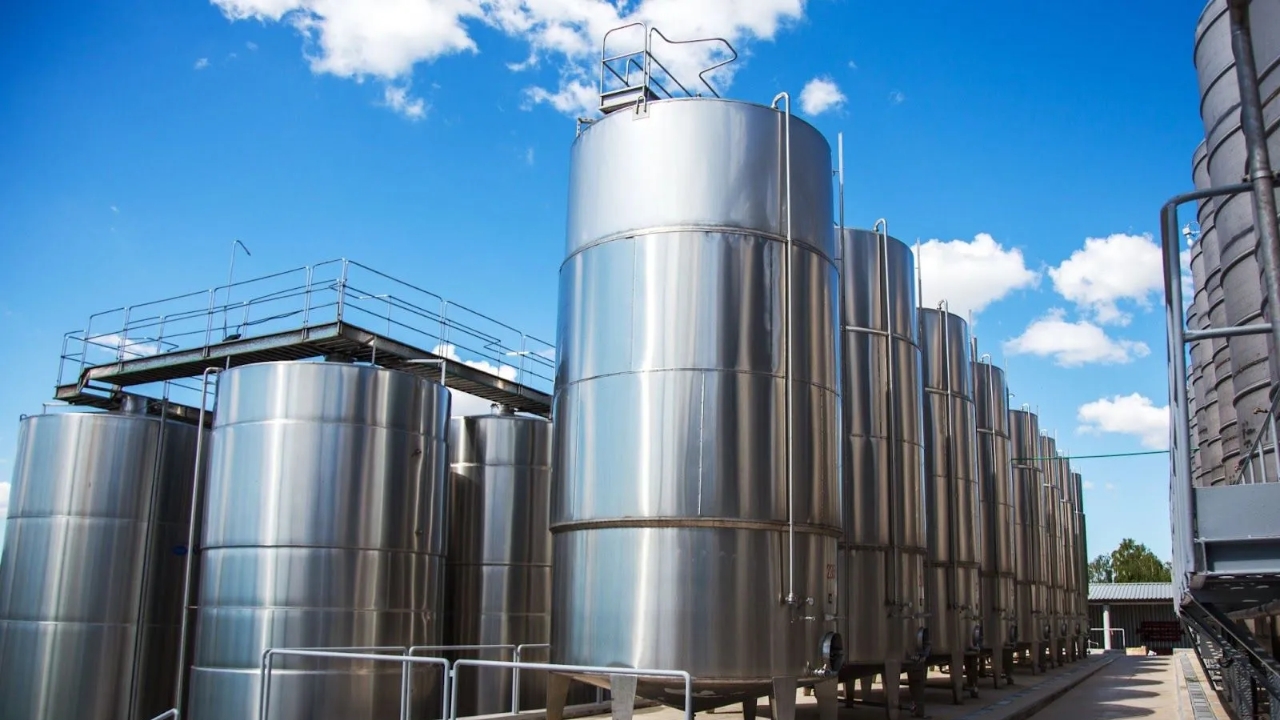
Do I need special tools for large storage tanks?
It works the same way, but for evenness, big tanks need high-production tools like pneumatic sanders and large-diameter buffing devices. As needed, our metal fabrication services can handle jobs of a large size.